Creating Color Palettes and Samples
Color Inspector provides a central repository for spot color definitions for the ChromaChecker system.
Color samples are stored in palettes and libraries. The operator may create palette using Capture and measure samples - saving them with spectral definitions in the database. The operator is assigned as a creator and time stamp protects data from unauthorized editing.
Preparatory activities
- Download and print exercise page: CC_Capture_Exercise_Color_Inspector.pdf
- Connect your instrument, Launch CC Capture.
Goals:
The goal is to educate the operator on how to perform these functions:
- Create new palette in Color Inspector, understand that substrate, printing technology, and finishing has an influence on the sample and any change may require creating a variant of reference.
- Define color samples.
- Understand sample inconsistency issues and the importance of averaging.
- Set appropriate ∆E00 tolerances
- Delete samples if necessary (feature active for the limited time only)
Benefits:
- The operator can create advanced spectral, multi- M-condition color samples - references for further use in the entire color workflow.
- The operator may create new references for placeholder patches in control strips.
- Created color palette/library can be exported to CxF file format - the operator can use this file on the RIP, upload it to an X-rite eXact or send it to Ink-kitchen for the formulation.
The Operator working with Print Inspector is typically accessing one brand library defined from Color Inspector. ChromaChecker makes it possible to create multiple palettes based on the library for multiple print conditions to work as references. If the customer is allowed to request on press corrections, the operator may override the predefined color definition**.
** We don't condone allowing a customer to make changes to the defined color on press, but some printers want to accommodate this correction. In this situation, Color Inspector allows editing of reference definitions and store all values in a central repository. All color data will be stored in palette - when approved by all parties involved, the CC Champion can merge the palette into master library and make the change permanent.
Exercise X1: Create New Color Palette.
1. Click on " + New Palette"
![]()
2. Enter new palette name and select properties according to ISO 17972 specification. Save a new palette, ideally the name should include a reference for the colors stored, and the print condition (substrate/finish).
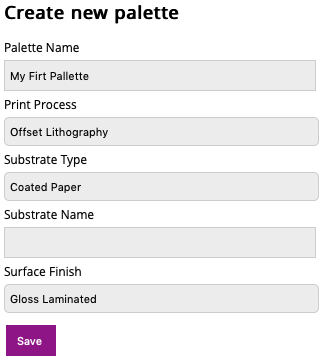
Note that the palette is linked to substrate, and surface finish. It is important to understand that the same color on different paper or different finish will appear different. You will want to save multiple palettes based on the master library for different print conditions (substrate and or finishing).
3. Click on Save button.
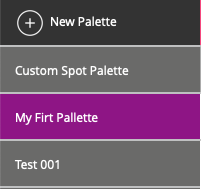
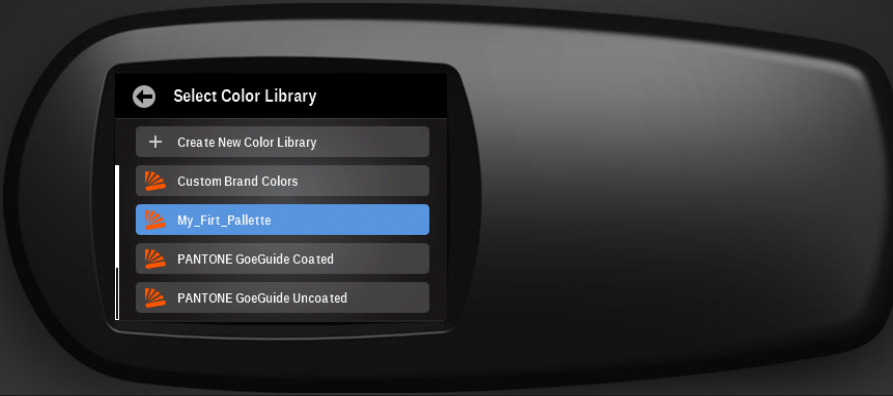
Your "My First Palette" is now listed and highlighted as selected and active.
Exercise X2: Create solid Reference
Start by calibrating your instrument (some instruments will perform automatic calibration, but if it is possible it is a good habit to recalibrate instrument before reference creation. Ensure white calibration ceramic tile is clean, free of dust and in good condition.
1. Click on " + Add new sample" on the right side.

Keep default Template "Solid"
According to the average of measured values, the final definition is calculated.
To understand the importance of building reference colors using averages, increase the number from 3 to 6 and perform measurements on the rectangle on the left side - where we have intentionally created a nonuniform specimen.
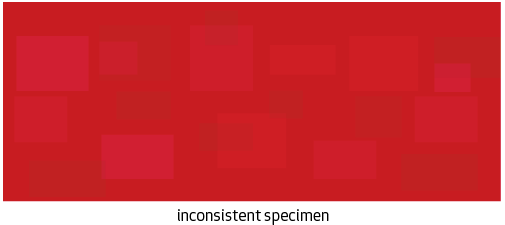
2. Follow on-screen guides - select 6 different locations and observe how Capture is informing the Operator on current consistency results (starting from the third measurement).
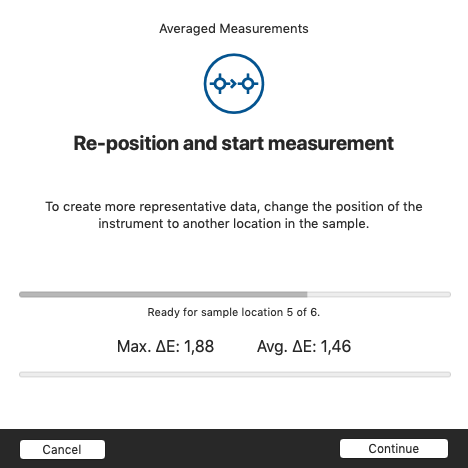
At this moment the average error is ∆E=1.46, but two more measurements will change the value...
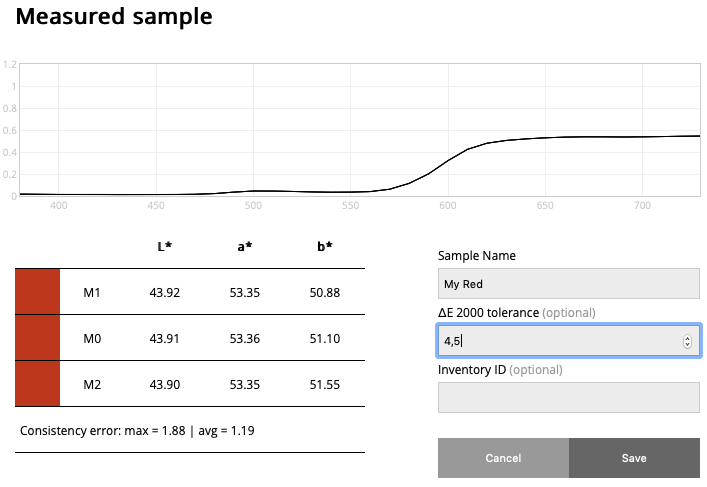
And finally, it is 1.19
This shows that it makes sense to average more locations on the specimen.
Need to ensure that this average ∆E of difference is less than 20% of desired tolerance. In this example, desired tolerance has to be 6 ∆E or more for this reference to be appropriate. Since most tolerances will not be 6 ∆E or more, we suggest you use a new much more consistent sample to build the reference.
3. Enter a name for the measured sample and optionally set the tolerance value. Keep it least 5 times higher than sample inconsistency! If your reference sample is inconsistent, nobody can expect repeat production better than physical reference sample.
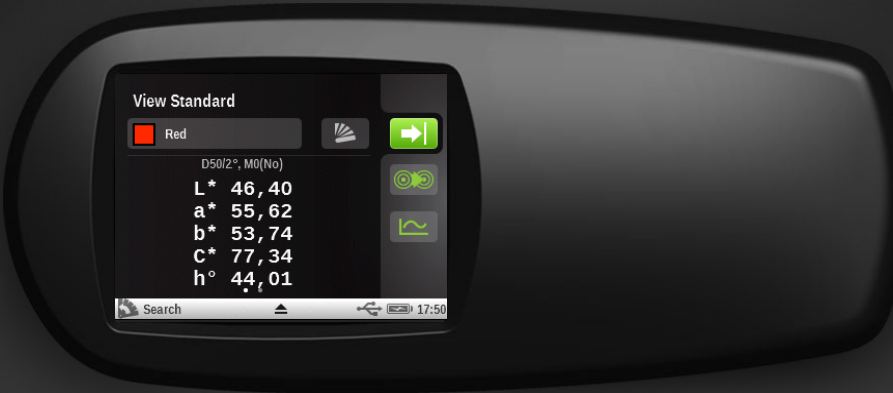
4. Save the sample. A list of Lab values for all M-conditions will be presented in the table.

Please note: For a limited time the operator can "delete" just created sample.
5. Repeat the same measurements with consistent specimen on the right side of print
The result will be much more consistent: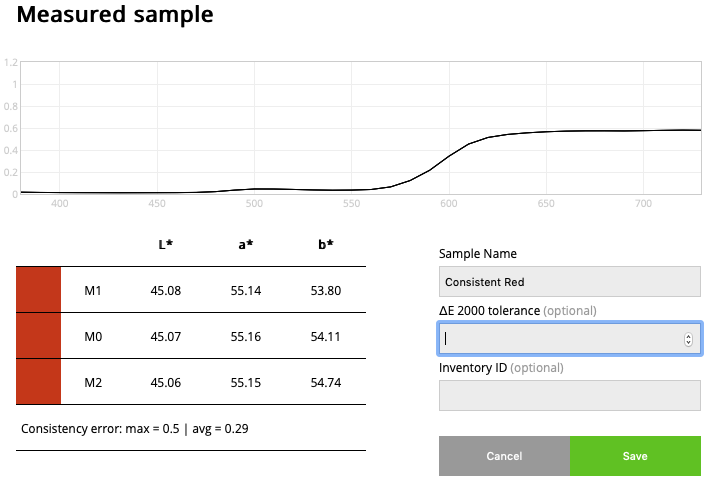
Now Average inconsistency is 0.29. It is normal that specimens are not perfectly uniform - we have to accept variations (and adapt tolerances accordingly) and it is critical to measure them on every stage, starting from the reference creation.
6. Save the second sample. In this case the "Tolerance" is left undefined. The system will use the global value stored in the general tolerance set.

Note: The pink color on the bars represents that a specific tolerance has been defined for this color. If spectra bars are gray, this color will use the tracks default tolerance.
Color Inspector (Experts Cloud Interface) allows for configuring advanced multi-level tolerancing schema, while the Capture Operator can specify a single ∆E2000 value.
7. Repeat exercise - use Blue and Green specimens, delete unwanted.

You have now created reference values that define solid spot references that can be compared using any other print technology with any system that is compatible with CxF. Congratulations!
Exercise X3: CxF/X-4 compatible reference
When defining the tint definitions for spot colors, it is critical to use the extended spot color CxF/X-4 definition. For more detail consult ISO-17972 specification (LINK?). This exercise is optional, however, it is easy and fast to perform, so we recommend to perform it at least one time.
To create a draw down in a production environment often we are printing the specific spot ink using IGP presses with dedicated anilox roller that can print several halftones in one pass. The substrate should be partially printed with Process Black before applying spot ink.
To simulate this we have prepared sample specimen.

1. Select “_CxF/x-4 minimal” Template.
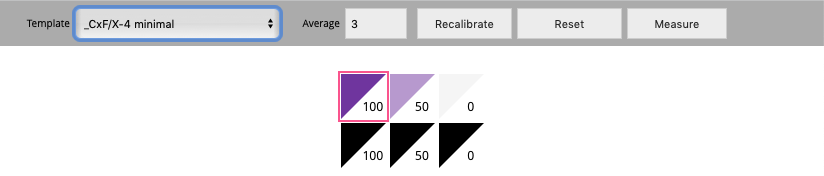
First three patches are printed directly on the substrate, then the on the substrate with Black Process
2. Perform measurements for every patch - keep in mind that averaging re-location will be applied to each patch separately.
3. Save the sample. The only difference is that the capturing data is more time-consuming, and definition much more advanced. Print Inspector now has real halftone reference for spot color. Depending on needs number of measured halftone values may be different. On-demand we may enable any custom template.
Exercise X4: download CxF
This feature works on PC only today (Mac version will be available soon).
Click on the "Export CxF" button - a CxF file should go to your download folder. This file is eXact compatible (no CxF X-4 compatible) and can be uploaded to your instrument using eXact Manager
Drag-and-drop just downloaded file into Libraries Window: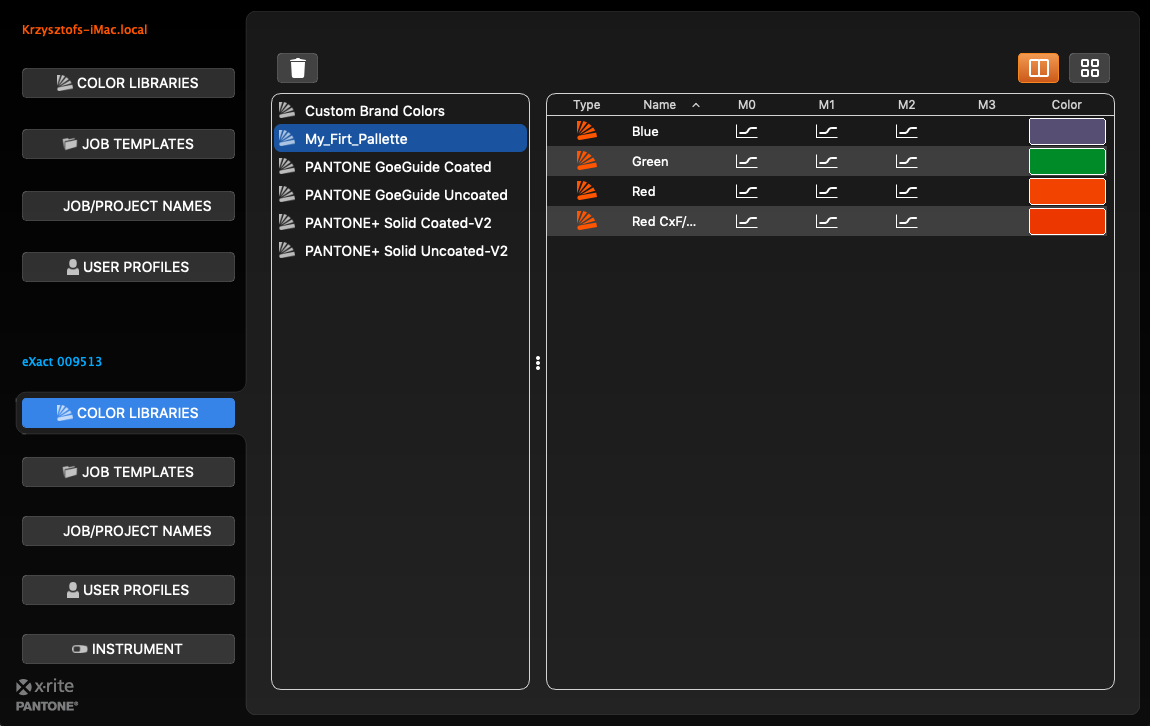
Now you can create spot color definitions using Capture and upload to your X-Rite instruments in the most advanced way available in our industry today. Congratulations!