BasicColor Catch 5
basICColor Catch 5
Manual upload mode:
- Download ChromaChecker Template Archive ZIP file and next unzip "CC Jobs catch" on the local hard drive.
- Launch basICColor Catch 5 application
- Click on the icon
 to switch to Advanced Mode:
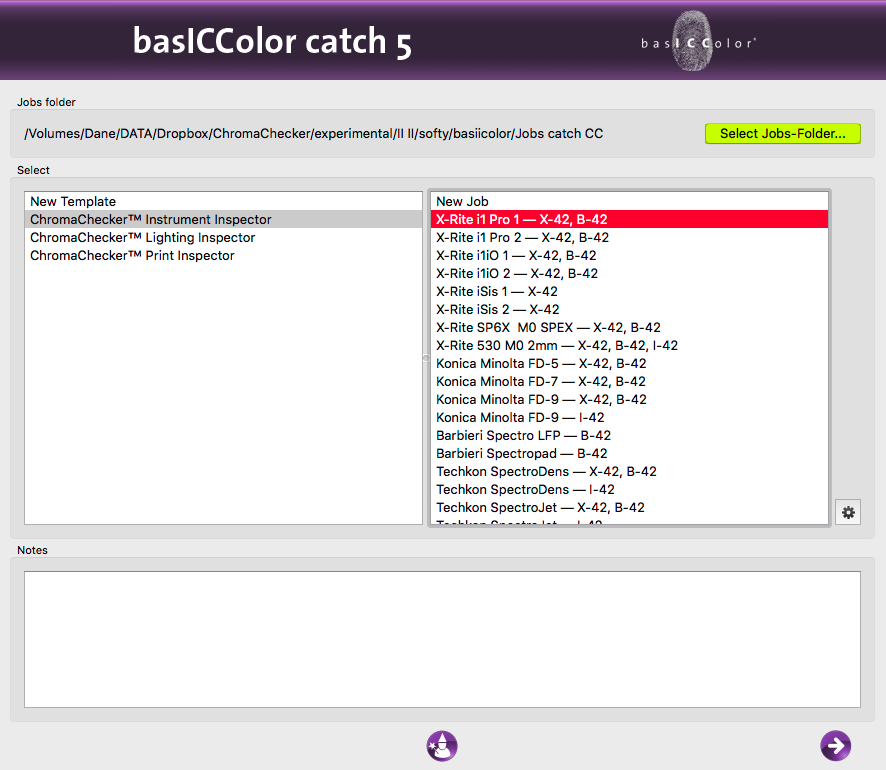
- Replace the existing Jobs Folder to "CC Jobs catch" folder downloaded from ChromaChecker website. (Optionally you may want to import selected Templates to the existing Job Folder)
- Select Template - e.g. ChromaChecker™ Instrument Inspector or ChromaChcker™ Print Inspector
- Select proper Job – the name reflects a combination of :
a. instrument/ Target (Instrument Inspector)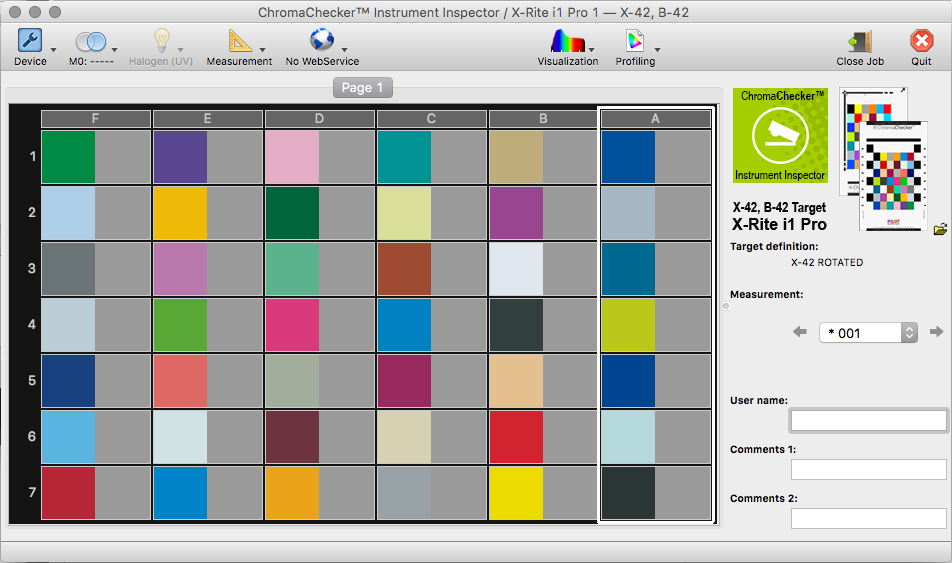
b. Instrument/ Control Strip (Print Inspector)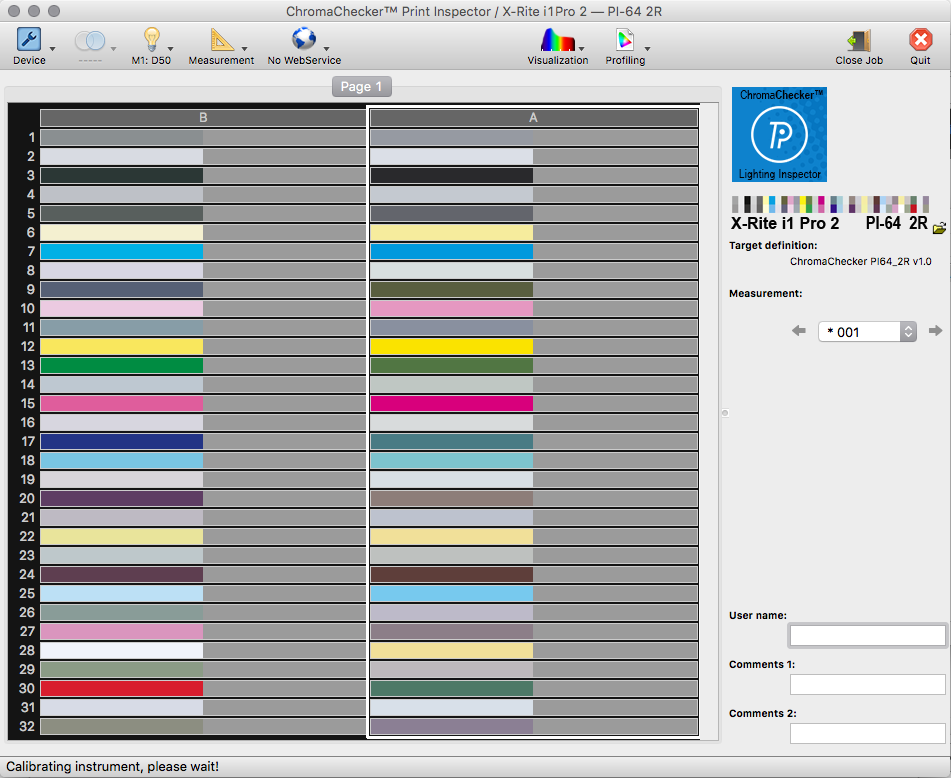
c. Instrument/ measurement schema for Lighting Inspector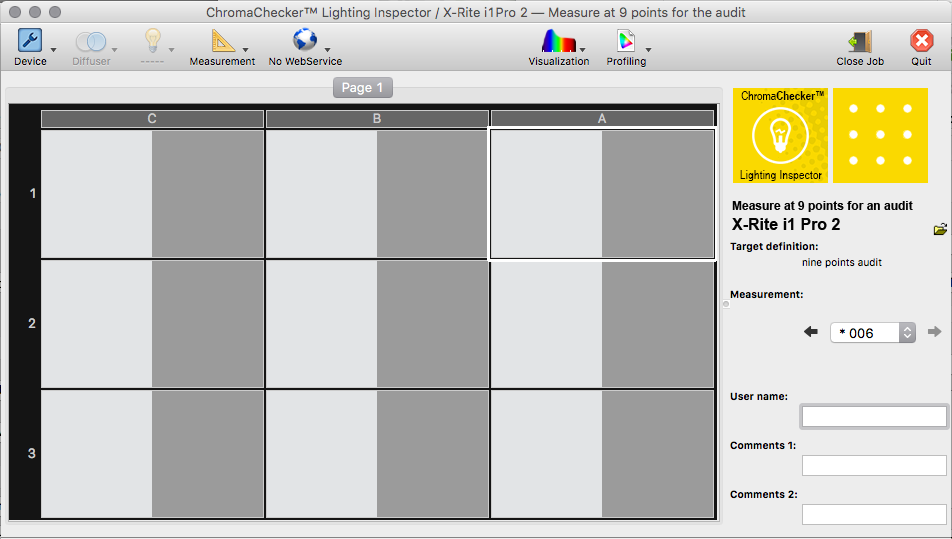
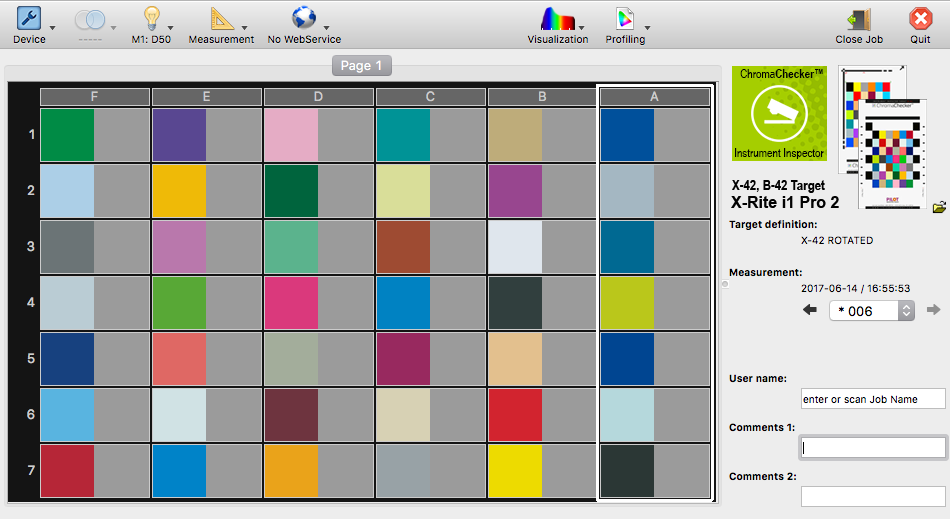
- Calibrate Instrument and measure Target, Control Strip, Test Chart or Lightings
- When the measurement is done application will save it in "CC Jobs catch" folder. Each instrument has its own subfolder. Select the Measurement file with .txt extension and upload it to ChromaChecker Server.
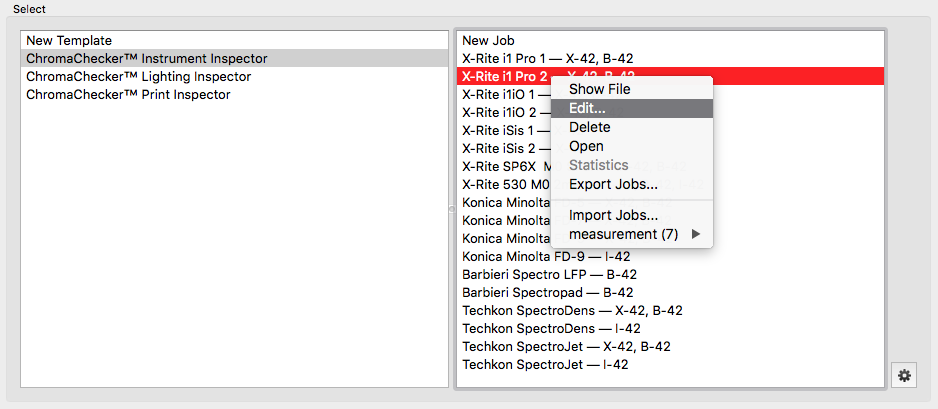
You may want to delete unwanted Jobs (dedicated for instruments that you are not going to use or Targets you don't have. To do that click with right mouse button on a Job.
Metadata and Automatic upload mode.
basICColor Catch provides measurement data that can handle additional information that ChromaChcker Cloud is capable of interpreting. To manage metadata edit Job — click right mouse button on the Job list:
Go to the tab called "Notes" 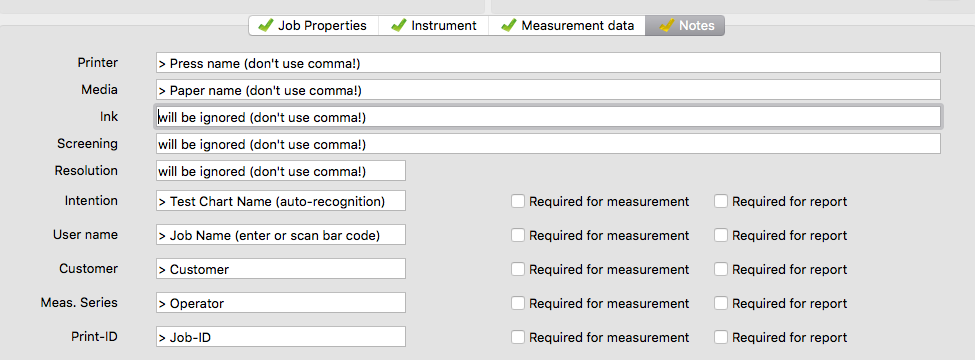
There are variables that enable efficient data capturing automatization.
The Key for Auto track recognition is "Intention" If you want system auto-recognize data (send a file to proper tool/ track) use this field – put here a unique name - and use the same in Press/ track or Instrument/Target settings.
For a better Job description You may also specify:
- Printer (will be recognized as a Press name)
- Media (Paper name)
- Customer (Customer)
- Meas. Series (use for Operator name — when more than one operator is working with a specific device that information can help identify them)
- Print-ID (Job ID
There is one more field: User Name which ChromaChecker interprets as Job Name.
When scanning this field is easy to enter by the operator
The operator can enter manually Job name (or Job Number) or he can use a barcode reader to scan printed on the sheet barcode. That makes the process faster and the operator will not make any mistakes when entering the Job name. It is easy to implement bar codes - most of the RIPs enables printing job name (just change the font to Code39 or similar).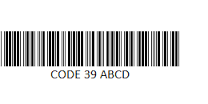
Automatic data upload requires setting SOAP connection.
Two steps are required:
- A SOAP account has to be activated on the ChromaChecker website,
Click on User Account Icon —> select SOAP account.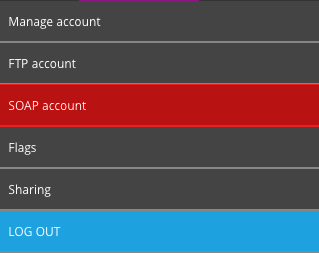
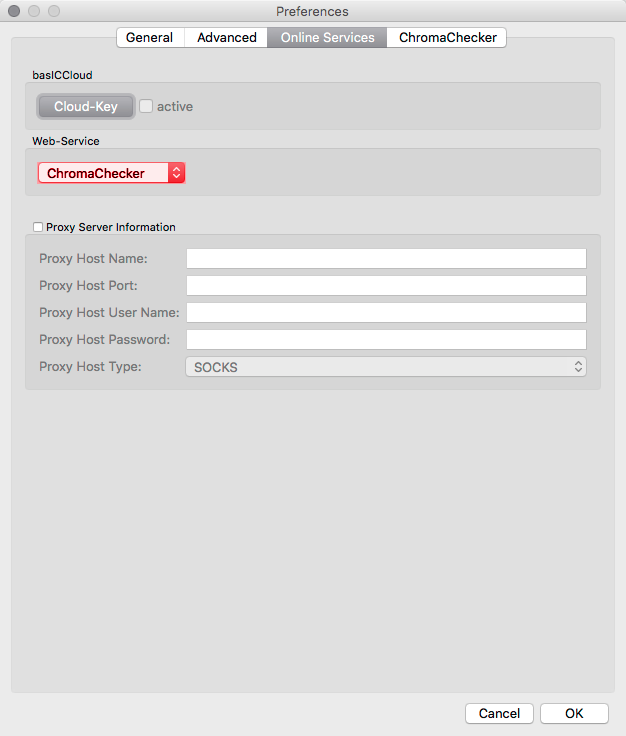
- Catch for auto upload requires activating SOAP connection. Go to Catch Preferences
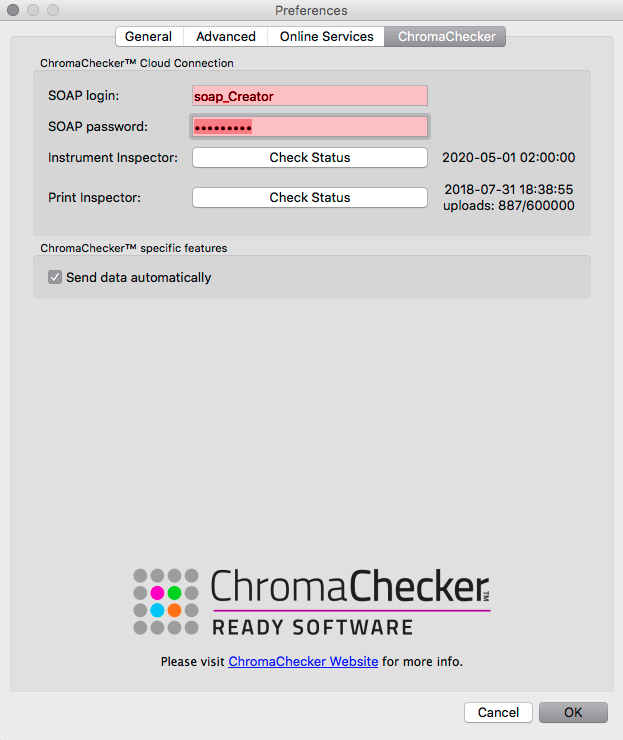
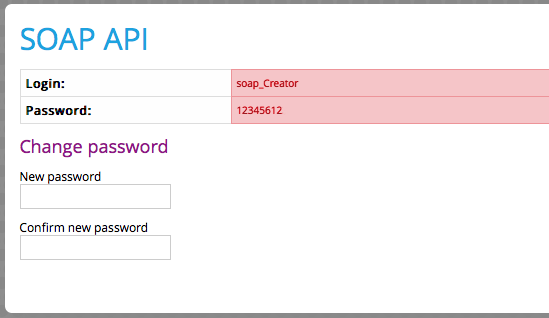
Server/ Login/ Password information on the website and in application preferences must be equal.
To check if the connection is working and the account is ready to receive measurement check the Status for both Instrument and Print Inspectors – the system will return information about a subscription. - In the tool's preferences set proper auto–recognition parameters. Set the same value for "Intention" in the "Notes" section of Job and Track or Instrument/ Target Preferences.
Example 1 - Instrument Inspector
Set the Intention parameter (Edit Catch Job Template — right click on Job name)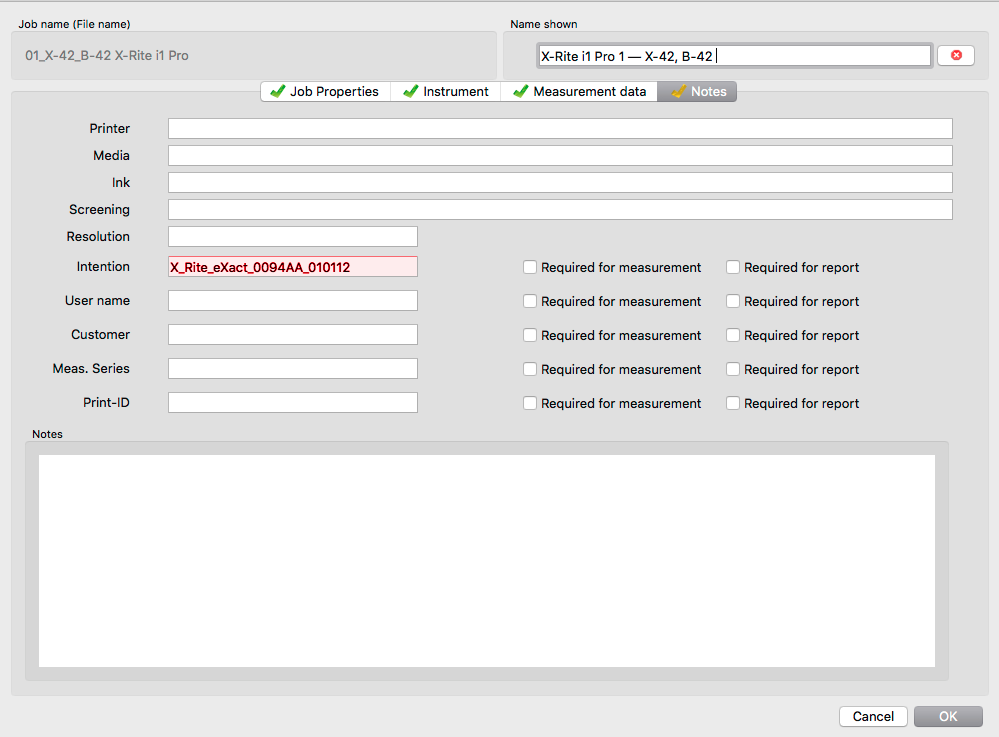
go to Instrument/ Target Preferences and setup the auto-recognition string:
Be sure to enter it exactly identically.
Auto-recognition string MUST be unique for each pair of Instrument/Target and Print Inspector Tracks!
Example 2 - Print Inspector Track
Set the Intention parameter (Edit Catch Job Template — right click on Job name)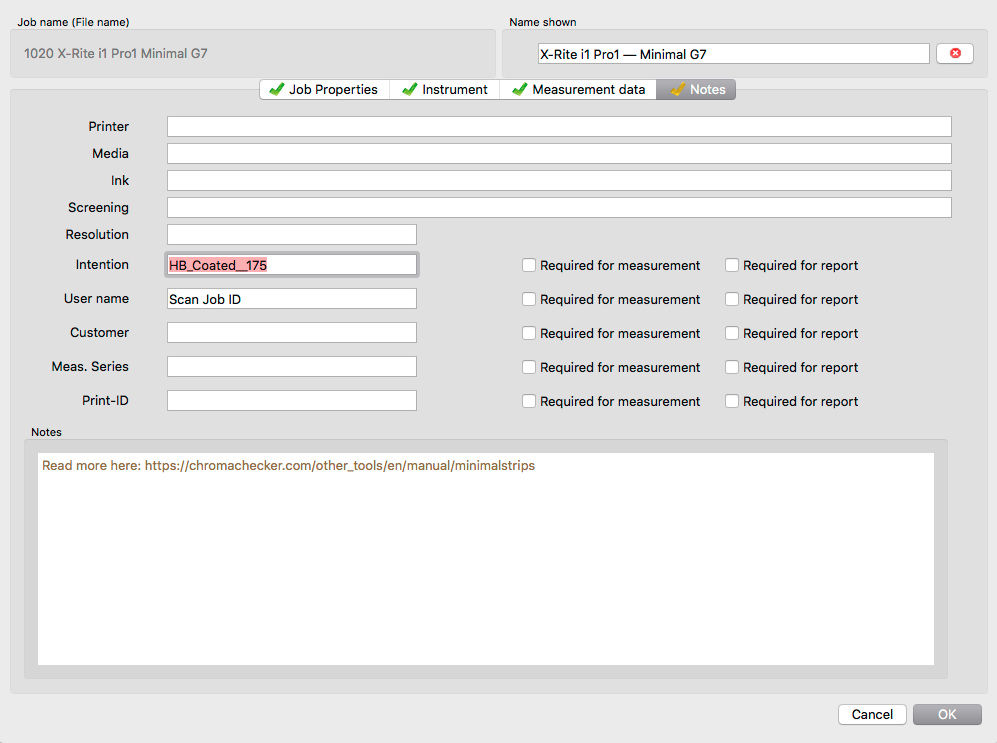
Go to Print Inspector Track Preferences and setup the auto-recognition string: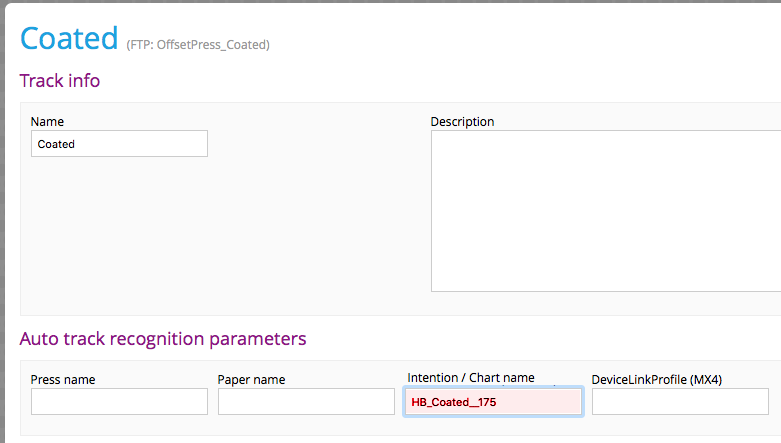
Be sure to enter it exactly identically.
Auto-recognition string MUST be unique for each pair of Instrument/Target and Print Inspector Tracks!
Contact ChromaChecker Support
Additional information and Support Form is available for logged users.