Plate Setter Audit Test Form
Important note:
Before you start be sure that your plate setter enables performing this test. You have to expose the same plate four times in a row without developing before the last exposure is complete.

This test form enables qualifying a plate multiple ways:
- Process control (checker test)

- Tone Reproduction Curve measurement for plate linearization purpose


values on the bottom represent real readings for 8 -bit data - Uniformity
- Registration / repeatability accuracy
Additional tools required:
- Dot Meter
- Microscope or magnifying glass
- Ruler
Procedure
Check if it is possible to expose a plate on CtP without processing it. If you can, turn the punching option off.
Next, follow these steps:
- Select proper Dot Inspector (positive/negative and resolution related to plate setter's used in production)
- In CtP RIP utility define the minimal page size, enlarge area with no TVI compensation. Use this space to place the ChromaChecker Dot Inspector test form. Ideally make an array e.g. 3x4 to control different areas of the plate: left/center/right and top/ center/bottom.

- Use only one plate and expose it four times (CMYK) - but do not process it
- Finally, process it
- Check if checker test pass -if not fix processor
- Check plate uniformity - measure and compare 50% C in for location on the plate. If all measurement is on tolerance (+/- 1%) go to the next step
- Measure TRC in at least 3 different location - if no uniformity issue – average result for the plate linearization
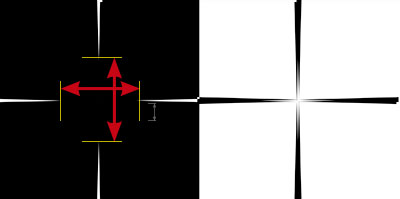
- Use a magnifying glass or a digital microscope (recommended) to the visual judgment of repeatability/registration. If gaps appear inside crosses measure them for all location
How to measure displacement with a ruler?
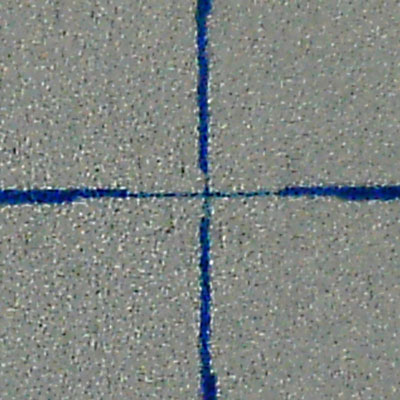
Close-up of displacement test exposed on a plate (picture taken with a digital microscope)
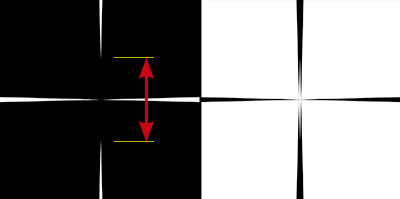
With common ruler measure the gap i both horizontal and vertical directions
next calculate displacement 1 mm = 25μ
gap 2mm = 50 μ 
gap 4mm = 100μ 
gap 6mm = 150 μ 
gap 8mm = 200μ 
gap 10mm = 250μ 
Dot Inspector P 2400 dpi (positive)
Dot Inspector P 2540 dpi (positive)
Production test form: Dot Inspector M
This simple form is dedicated to Tone Reproduction Curve checking and process control only.
![]()
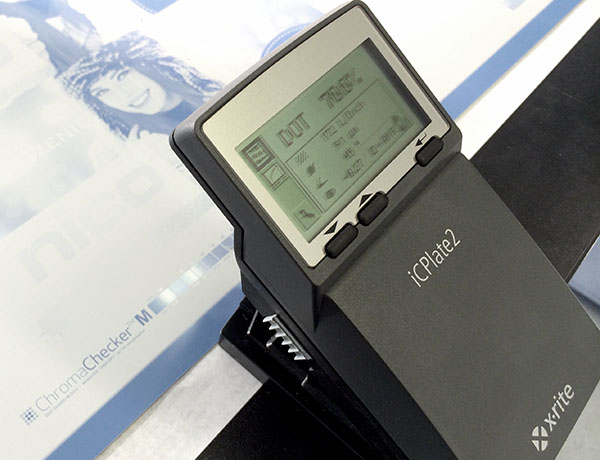
ChromaChecker™ Dot Inspector M test form in regular production QC
Dot Inspector M 2400 dpi (positive)
Dot Inspector M 2540 dpi (positive)
Contact ChromaChecker Support
Additional information and Support Form is available for logged users.