Komori PDCS 1 & 2 - (ITX OEM)
ChromaChecker Uploader Software
The ChromaChecker Uploader Software (CC Uploader) is designed to automate the uploading of files into ChromaChecker by way of an Input Folder (Hot Folder). CCUploader software is used for any system that does not have a direct link via the ChromaChecker API or instruments that use the ChromaChecker Capture software.
The configuration consists of simply locating the folder that contains data files and defining a “Task” that defines how to upload the data files. This allows for automatically ingesting files to ChromaChecker.
Getting Started
Download the application from ChromaChecker online Manual at DOWNLOAD followed by running the installer program.
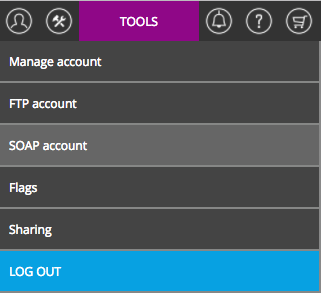
Locate your SOAP credentials by going to “SOAP account” located under the individual Menu
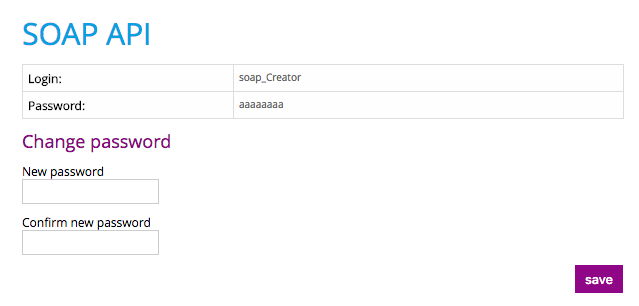
You can confirm access by selecting the “Check Connection" button – This will confirm your login/password and an active subscription
To set a password, complete the “New Password” and “Confirm new password” fields
You may want to Lock the Admin interface to protect it from unauthorized changes.
Add a new task and define its parameters.
Create the next task if required. You may duplicate existing if just small changes have to be applied
Once the task is defined and saved a current status is displayed on the main application window.
It is important to understand the meaning of icons
File Name Recognition Advanced Implementation
File names are defined in the press console and will vary based on the vendor. Some systems also support .clf file format that will provide additional information as metadata and allow for print conditions to be automated at the press console.
Closed-Loop Systems
Closed-Loop systems vary in implementation based on the type of file generated by the system for ingesting into ChromaChecker. Remember, some devices have implemented the ChromaChecker API and will provide information directly into the system and bypass the need to use CC Uploader.
It’s important to identify the Manufacturer which is many times an OEM product from x-Rite or Techkon along with the model number and software version being implemented.
Once you determine that the system is generating a file for upload, you can configure a “Task” in “CC Uploader” that will ingest the file from the selected file location.
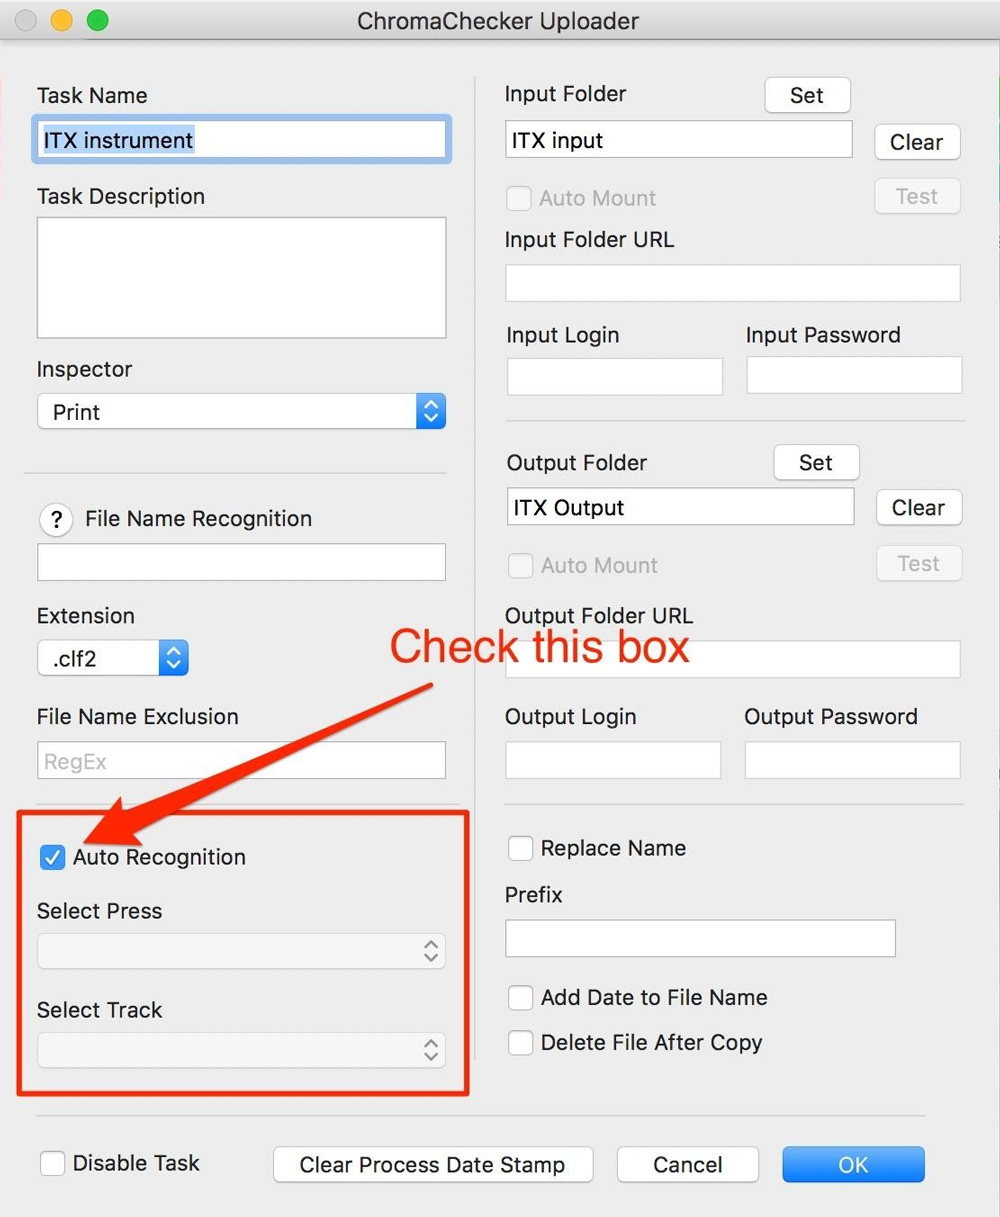
Auto Recognition
You will need to identify the Press Name and the Substrate Names defined in the Press Software. Here is an example.
Press Name: Komori Press
Substrate Name: PT 1 Gloss coated
Substrate Name: PT 4 Uncoated
This information is included in the CLF2 file exported by the press software and may vary based on the model and version of the software.
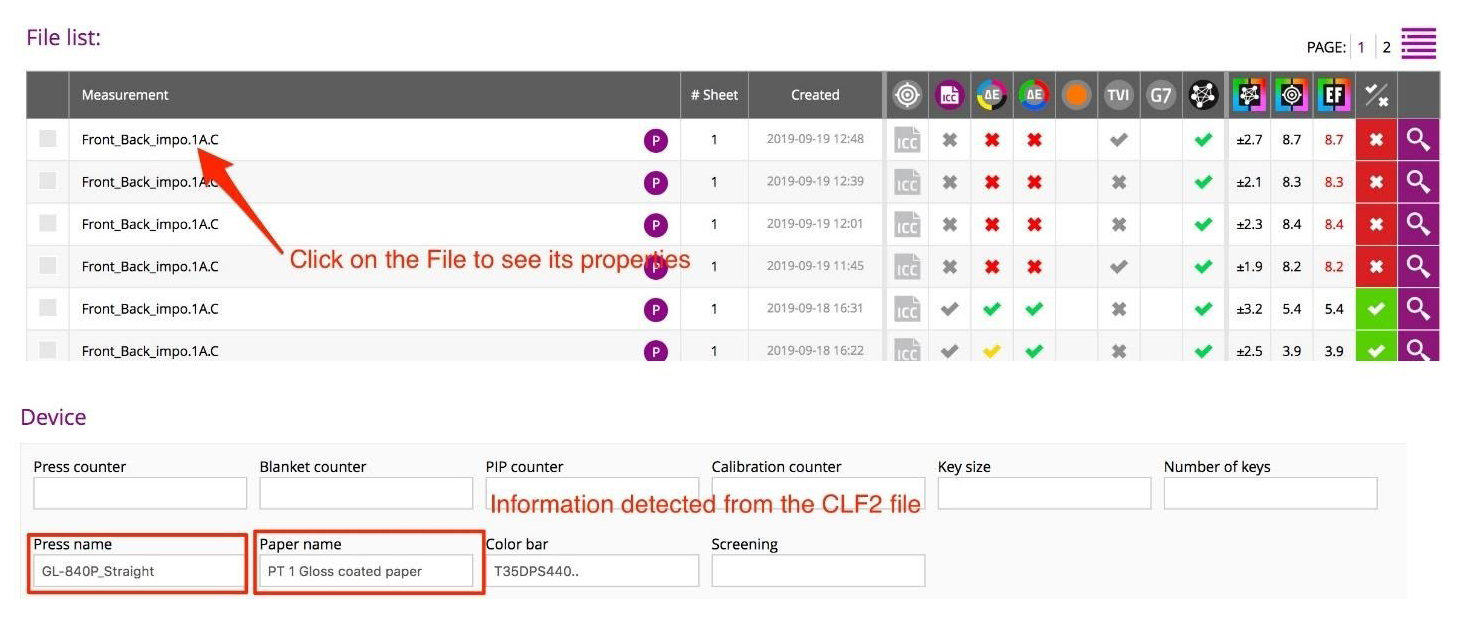
In this case, two substrate examples exist that need to be identified and separated into two different tracks within ChromaChecker.
The coated track will receive files tagged with PT 1 Gloss coated paper info.
The uncoated track will receive files tagged with PT 4 Uncoated paper info.
Click on the Track property icon, and copy/paste the information from the CLF2 file as shown below:
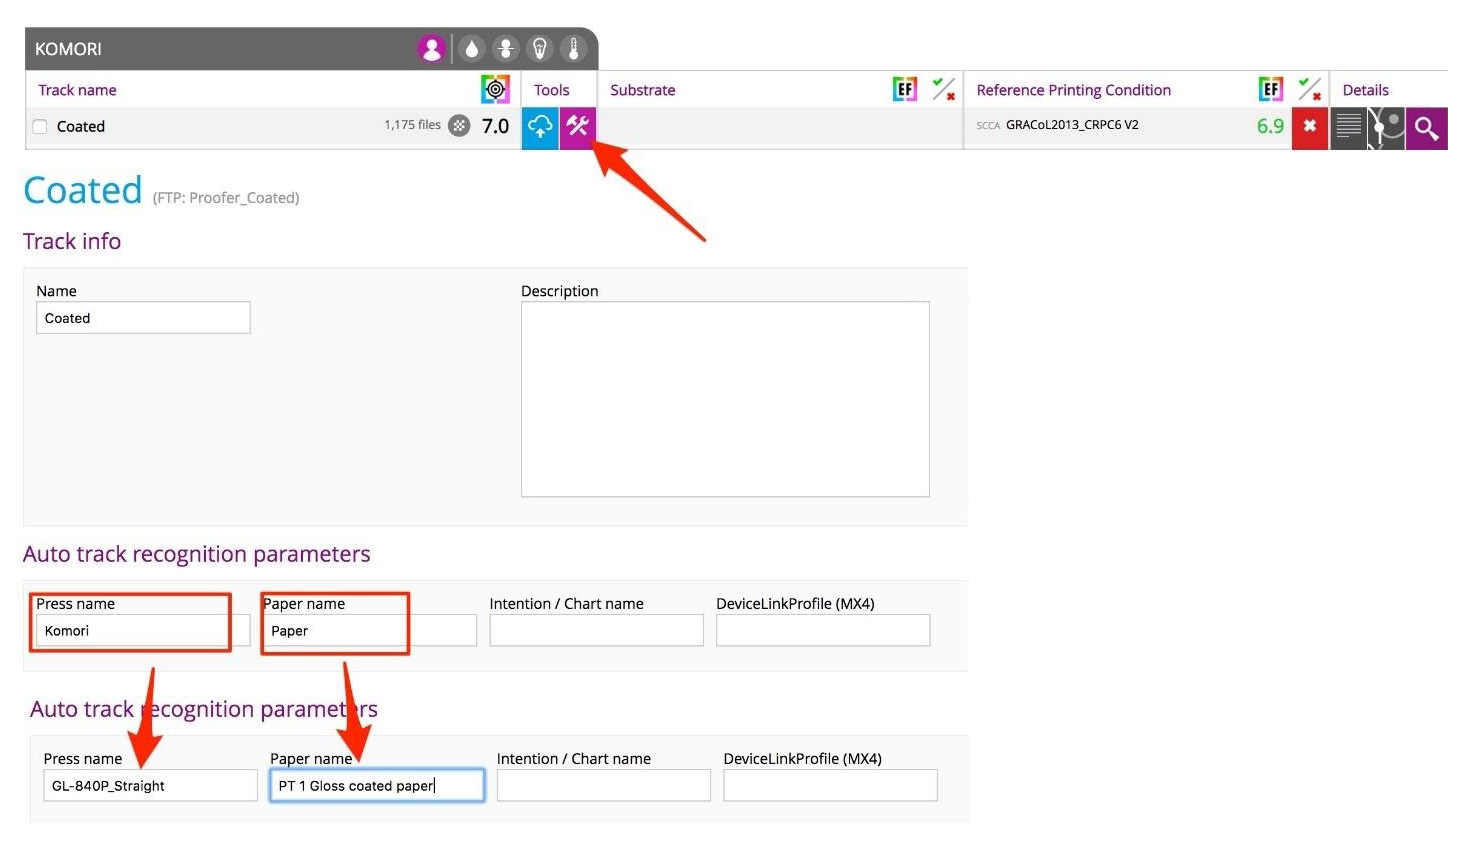
ChromaChecker will dispatch all incoming files between those two tracks.
Next, check to ensure that CC Uploader software has the “Auto-Recognition” box selected
Go to the CC Uploader software installed on the press console, double-click on the Task (there is only one), and check the Auto-Recognition box, then click okay.
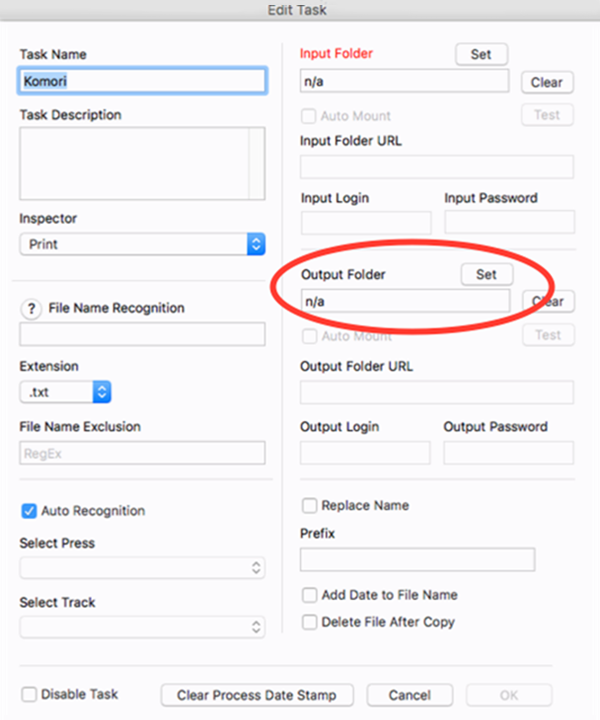
For Closed-Loop activate the Output Folder
For closed-loop, activate the output folder in CC Uploader, and CC will make a copy of the SVF and upload this file to cloud, leaving the original for the closed-loop/
Intellitrax Configuration
ITX automatically saves each scan as a REGULAR.SVF, not the Enhanced SVF to a directory that CC Uploader is uploading to your ChromaChecker. The Enhanced selection (bottom) only uploads OK sheets, nothing else.
It is imperative that the Process Template within the ITX software is named for the given press and substrate i.e.: “Device Name”/Coated, and the operator chooses this template for all work on coated paper, all the ITX aims for coated densities are part of this process template. You would have additional process templates for other substrates i.e. “Device Name”/UNC,
Here is an example of one press with two print conditions. For simplicity, the operator selects between “Coated Stock” and “UnCoated Stock”

The file associated with this data file identifies the press condition that is used for “Auto Recognition”.
Saving and restoring configuration
To the Admin window and click on the "Save Configuration" button. The settings.txt file will be stored in the program folder. To restore settings from this file click on the "Load Settings" button. The file is readable and editable if desired.
When upgrading software, it is best practice to save the configuration and restore it after the software upgrade is completed.
Video
-
This tutorial demonstrates how to configure ChromaChecker Uploader to use ChromaChecker Print Inspector for analysis
Contact ChromaChecker Support
Additional information and Support Form is available for logged users.