X-Rite Intelitrax
To use ChromaChecker™ Instrument Inspector with the Xrite® IntelliTrax®, you must go through some simple setup procedures before you can measure the ChromaChecker™ ITX-42 Target:

Here is the step by step instructions:
Setup the IntelliTrax®
to be able to measure the ChromaChecker™ Target:
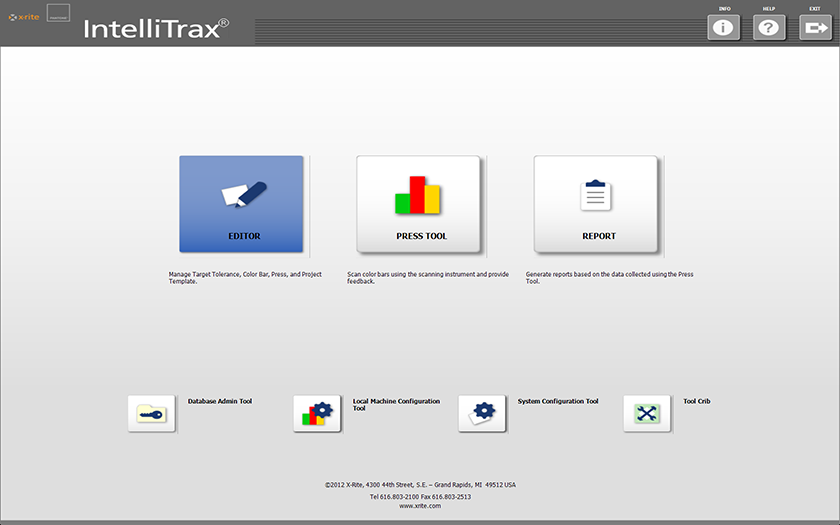
![]() Launch X-Rite® IntelliTrax® software, and click on Editor.
Launch X-Rite® IntelliTrax® software, and click on Editor.
![]() Click on Color Bar
Click on Color Bar
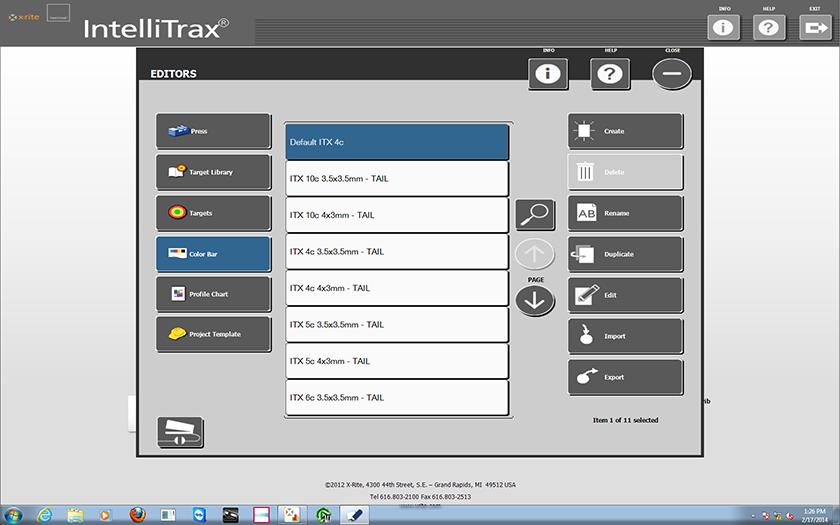
![]() Click on Import
Click on Import

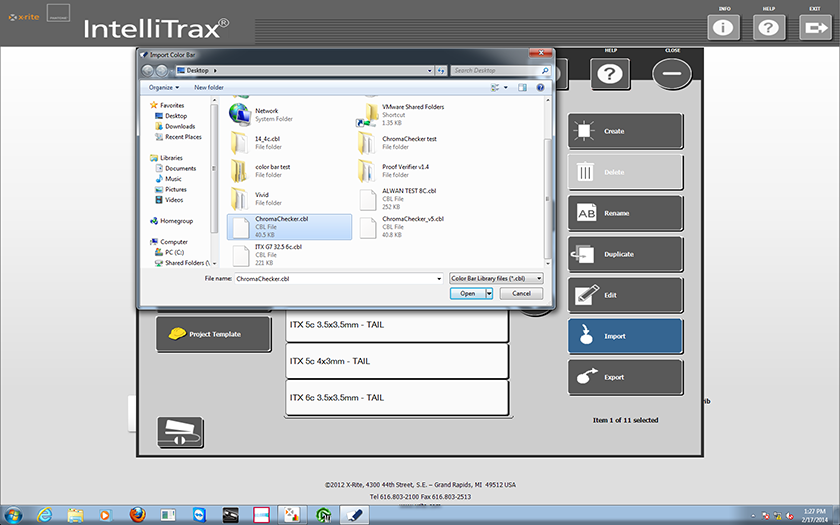
![]() Navigate to the location where the ChromaChecker.cbl
Navigate to the location where the ChromaChecker.cbl ![]() resides, select it and click on Open. This will import the ChromaChecker file used when measuring.
resides, select it and click on Open. This will import the ChromaChecker file used when measuring.
![]() Next, click on Project Template.
Next, click on Project Template.
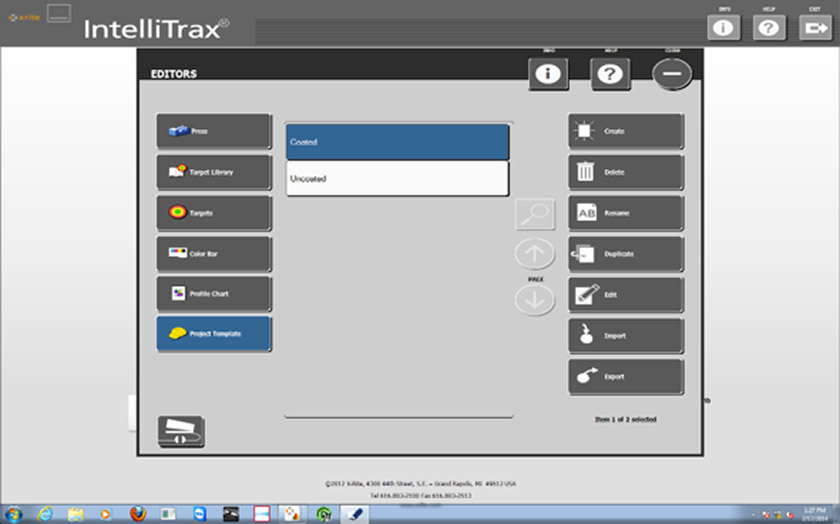
![]() Duplicate one of your more common Project Templates that you use in production and name it ChromaChecker and hit Enter.
Duplicate one of your more common Project Templates that you use in production and name it ChromaChecker and hit Enter.

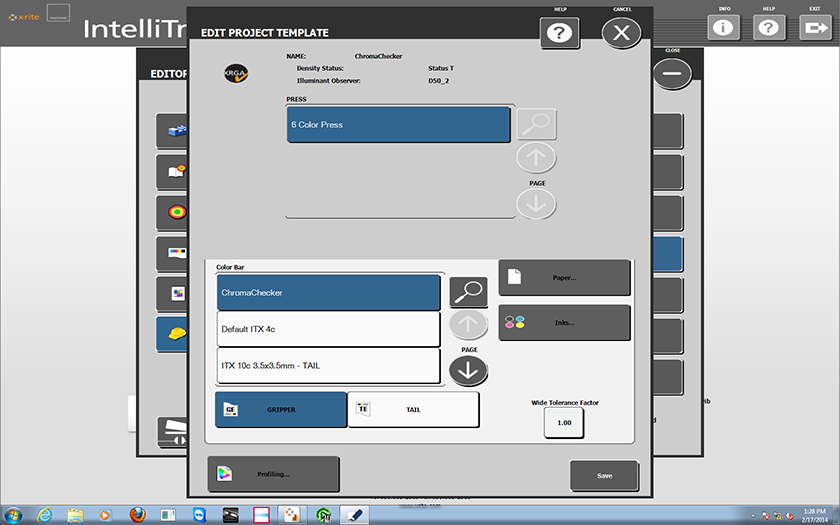
![]() When the new ChromaChecker Project Template opens, select the ChromaChecker color bar from the library and then Save
When the new ChromaChecker Project Template opens, select the ChromaChecker color bar from the library and then Save
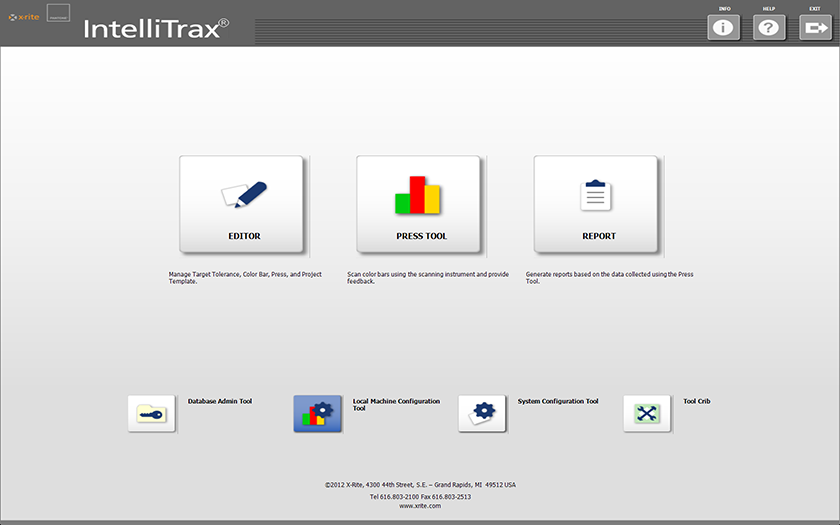
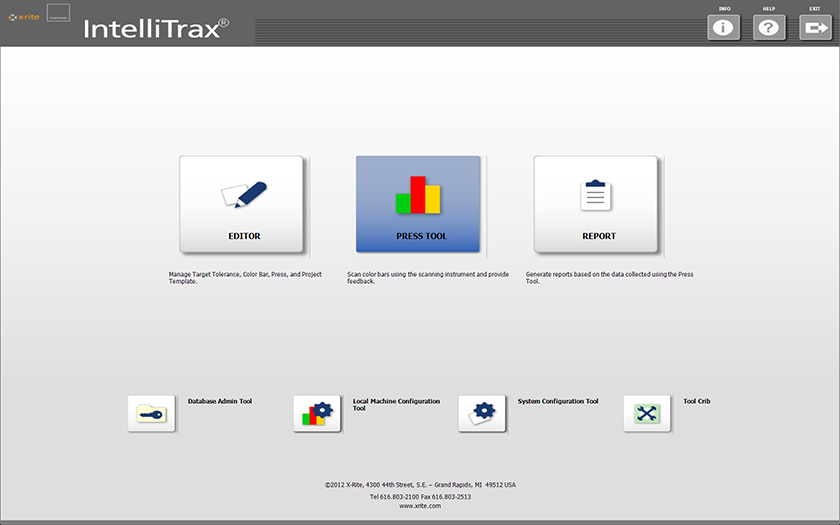
![]() Next, close out of Editor which will take you back to the main window of IntelliTrax®. Next, click on Local Machine Configuration Tool.
Next, close out of Editor which will take you back to the main window of IntelliTrax®. Next, click on Local Machine Configuration Tool.
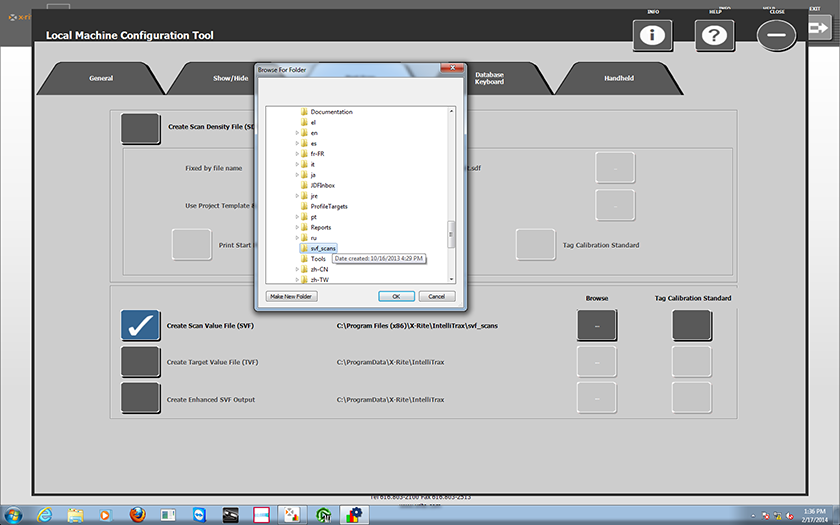
![]() Then, click on the Post Scan tab and check on Create Scan Value File (SVF). If this check box is already selected, another application may be set up to automatically grab this file when created. Please choose a temporary directory for the chromachecker file following the steps below, and then after the target is captured, go back into this menu and reconfigure back to the original directory.
Then, click on the Post Scan tab and check on Create Scan Value File (SVF). If this check box is already selected, another application may be set up to automatically grab this file when created. Please choose a temporary directory for the chromachecker file following the steps below, and then after the target is captured, go back into this menu and reconfigure back to the original directory.
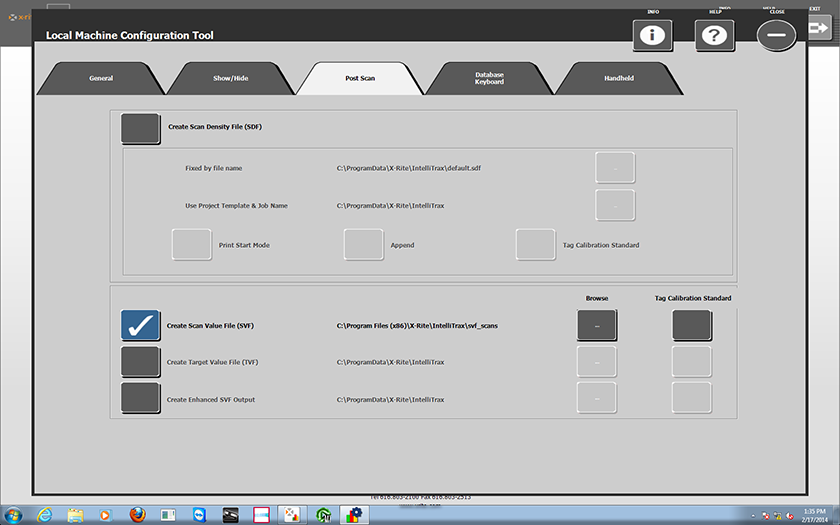
![]() Next, click on the browse button and create a folder in the IntelliTrax® folder similar to the directory location and name listed in the example screen shot. (you can always create a shortcut on your desktop to this folder for quick and easy access)
Next, click on the browse button and create a folder in the IntelliTrax® folder similar to the directory location and name listed in the example screen shot. (you can always create a shortcut on your desktop to this folder for quick and easy access)
![]() Finally, click on close to exit Local Machine Configuration and this will return you to the main window of IntelliTrax®.
Finally, click on close to exit Local Machine Configuration and this will return you to the main window of IntelliTrax®.
![]() To scan the ChromaChecker card, you need to set up the ChromaChecker as a normal production press run in Press Tool of the IntelliTrax software. Click on Press Tool.
To scan the ChromaChecker card, you need to set up the ChromaChecker as a normal production press run in Press Tool of the IntelliTrax software. Click on Press Tool.
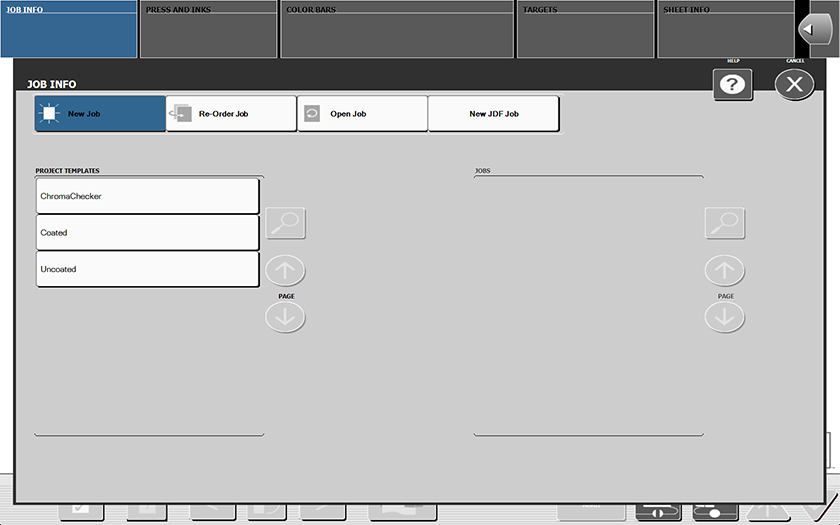
![]() Select the new Project Template you created called: ChromaChecker.
Select the new Project Template you created called: ChromaChecker.
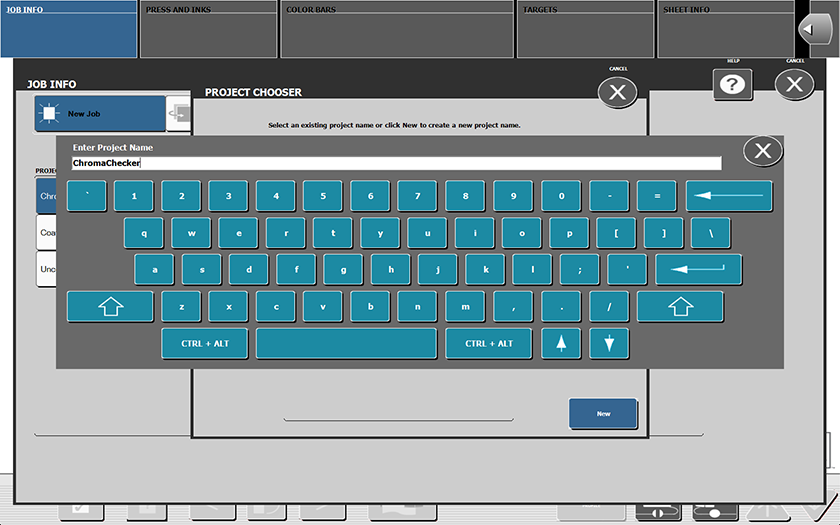
![]() Create a Project Name called ChromaChecker and hit Enter.
Create a Project Name called ChromaChecker and hit Enter.
This ends setup procedure
Now you can make your routine measurements for your instrument validation
Routine measurements procedure:
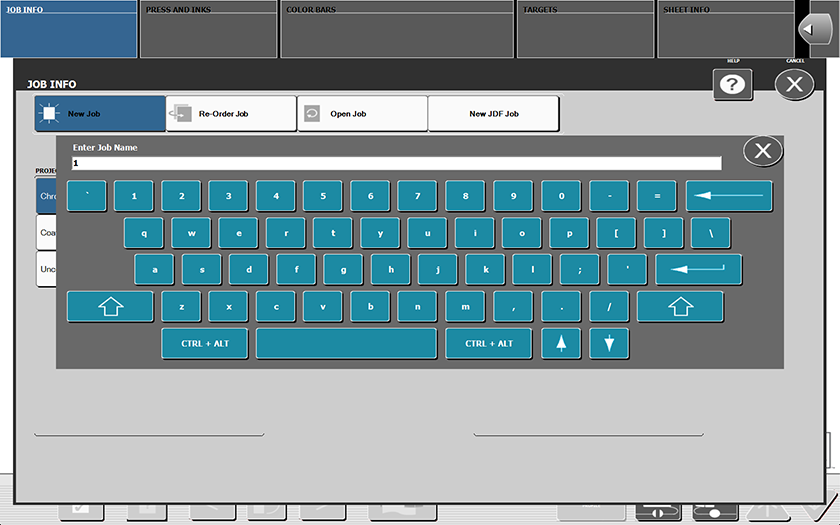
![]() Create a Job Name like today’s date and hit Enter.
Create a Job Name like today’s date and hit Enter.
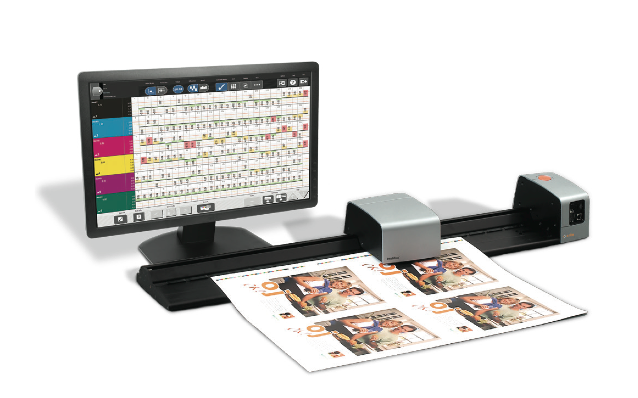
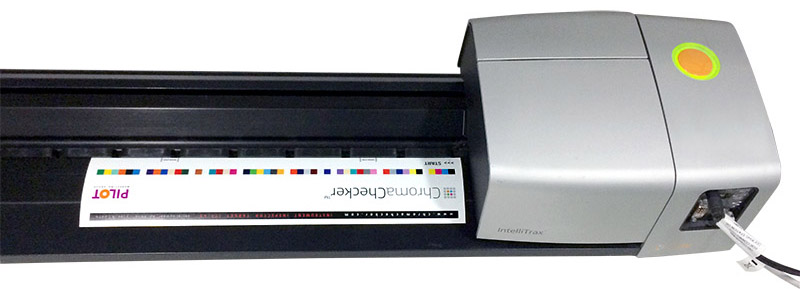
![]() Place the ChromaChecker™ ITX-42 Target on the IntelliTrax® scanner near the scan head and initiate a measurement by pressing the orange button on the scanner or the Measure button on the display.
Place the ChromaChecker™ ITX-42 Target on the IntelliTrax® scanner near the scan head and initiate a measurement by pressing the orange button on the scanner or the Measure button on the display.
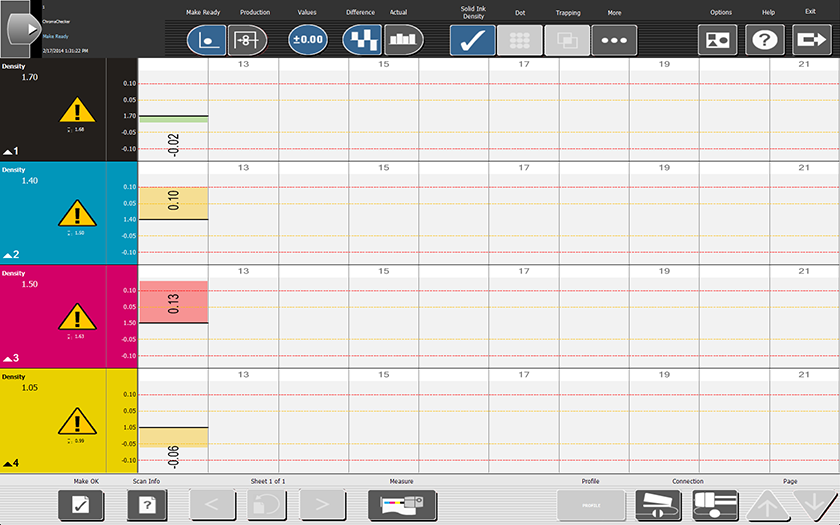
![]() The measurement will display like the screen shot.
The measurement will display like the screen shot.
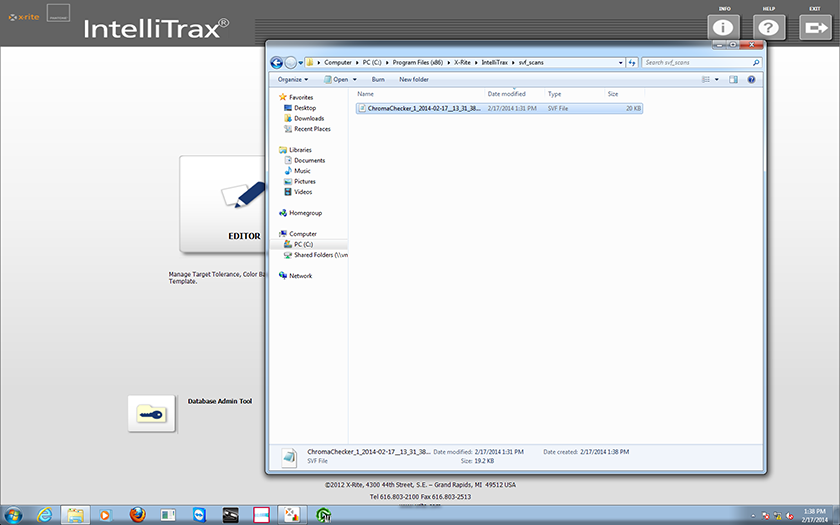
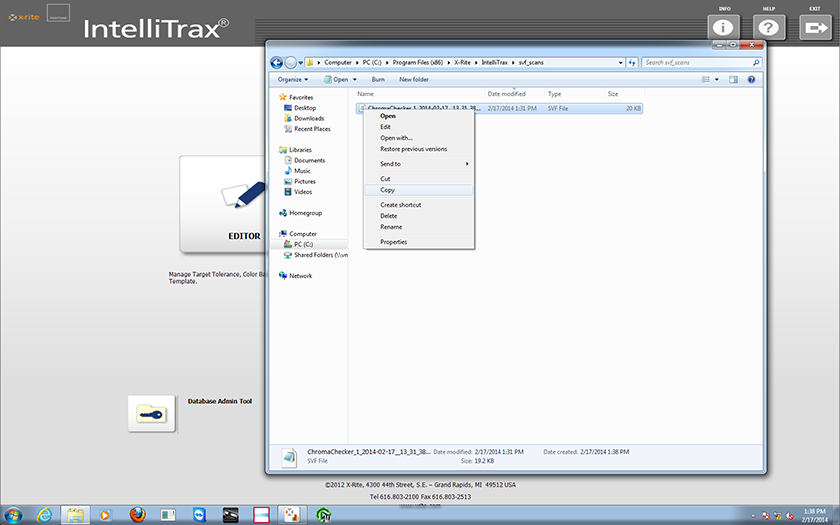
![]() Next, navigate to the svf folder you created in the IntelliTrax® directory.
Next, navigate to the svf folder you created in the IntelliTrax® directory.
(use the shortcut you created on the desktop for quick and easy access). If the SVF selection was already turned on, go back into your Machine configuration and choose the original directory for SVF files in order for your production measurement files to be stored in the expected directory.
![]() Upload these files for uploading to the ChromaChecker website at chromachecker.com.
Upload these files for uploading to the ChromaChecker website at chromachecker.com.
Instrument Inspector Manual
To use Instrument Inspector one of ChromaChecker™ Instrument Inspector
Targets is required. To buy visit to IDEAlliance
![]()
Instrument Inspector – How does it work?
Why use Instrument Inspector?
Instrument Inspector Target
Baselines and data averaging
How to start-up?
Instrument Inspector menus - how to navigate?
Easy mode / Expert mode
Data sharing
Instrument's comparison
Instrument’s compatibility list
General rules
FAQ
Tricks and Tips
![]()
Supported Instruments – manuals
X-Rite i1 Pro 1
X-Ritei1 Pro 2
X-Rite i1iO
X-Rite iSis
X-Rite DTP-70
X-Rite Intelitrax
X-Rite eXact – manual mode
X-Rite eXact – scan mode
X-Rite 530
X-Rite 939
X-Rite SpectroEye & other from X-Rite
Techkon Instruments
Barbieri instruments

