Xrite® IntelliTrax® (ITX),
ChromaChecker Uploader Software
The ChromaChecker™ Uploader Software (CC Uploader™ ) is designed to automate the uploading of files into ChromaChecker by way of an Input Folder (Hot Folder). CCUploader software is used for any system that does not have a direct link via the ChromaChecker API or instruments that use the ChromaChecker Capture software.
The configuration consists of simply locating the folder that contains data files and defining a “Task” that defines how to upload the data files. This allows for automatically ingesting files to ChromaChecker.
Download the Uploader Application from the online Manual at DOWNLOAD followed by running the installer program.
Getting Started
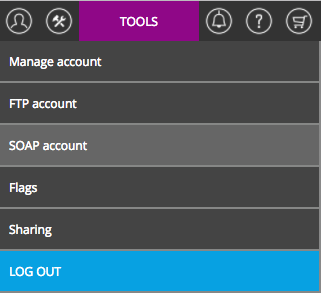
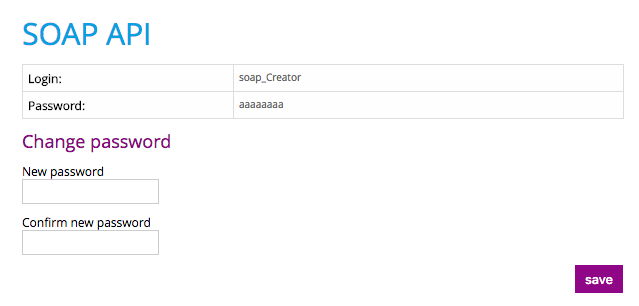
Locate your SOAP ChromaChecker credentials by going to the “SOAP account” located under the individual Menu. This information will be needed to authenticate CC Uploader with ChromaChecker.
To set a password, complete the “New Password” and “Confirm new password” fields
Next, you can configure CC Uploader to locate the path for the ITX spectral data by first locating the .svf file on the file system. This can be done by looking in the ITX configuration settings or by searching the file system.
File Name Recognition Advanced Implementation
File names are defined in the press console and will vary based on the vendor. Some systems also support file formats that will provide additional information as metadata and allow for print conditions to be automated at the press console.
Closed-Loop Systems
Closed-Loop systems vary in implementation based on the type of file generated by the system for ingesting into ChromaChecker. Remember, some devices have implemented the ChromaChecker API and will provide information directly into the system and bypass the need to use CC Uploader.
It’s important to identify the Manufacturer which is many times an OEM product from x-Rite or Techkon along with the model number and software version being implemented.
Once you determine that the system is generating a file for upload, you can configure a “Task” in “CC Uploader” that will ingest the file from the selected file location.
Auto Recognition
You will need to identify the Press Name and the Substrate Names defined in the Press Software. Here is an example.
Intellitrax Configuration
ITX automatically saves each scan as a REGULAR.SVF, not the Enhanced SVF to a directory that CC Uploader is uploading to your ChromaChecker. The Enhanced selection (bottom) only uploads OK sheets, nothing else.
It is imperative that the Process Template within the ITX software is named for the given press and substrate i.e.: “Device Name”/Coated, and the operator chooses this template for all work on coated paper, all the ITX aims for coated densities are part of this process template. You would have additional process templates for other substrates i.e. “Device Name”/UNC,
Here is an example of one press with two print conditions. For simplicity, the operator selects between “Coated Stock” and “UnCoated Stock”

The file associated with this data file identifies the press condition that is used for “Auto Recognition”.
X-Rite Intellitrax 1 & 2 - Optional Configuration
Note: If ITX is currently being used in production, you can simply upload the .svf file to ChromaChecker for analysis. Configuration of ITX is for a new instrument installation which should follow ITX best practices; segment press/substrate identification or change an existing control bar patch definitions.
To use ChromaChecker™ Print Inspector with the Xrite® IntelliTrax® (ITX), no immediate changes are required if the system is saving spectral data (.svf format). ITX usually will be exporting a .svf file that can be loaded for ChromaChecker using CC Uploader or a manual approach.
Setup the IntelliTrax®
Note: ChromaChecker supports all control strips but recommends using a control strip with a minimal number of patches to generate g7 curves. For additional custom consultation, please reach out to find out about our pre-configured projects. Projects are designed in conjunction with our channel partners and are customized to meet your specific press needs.
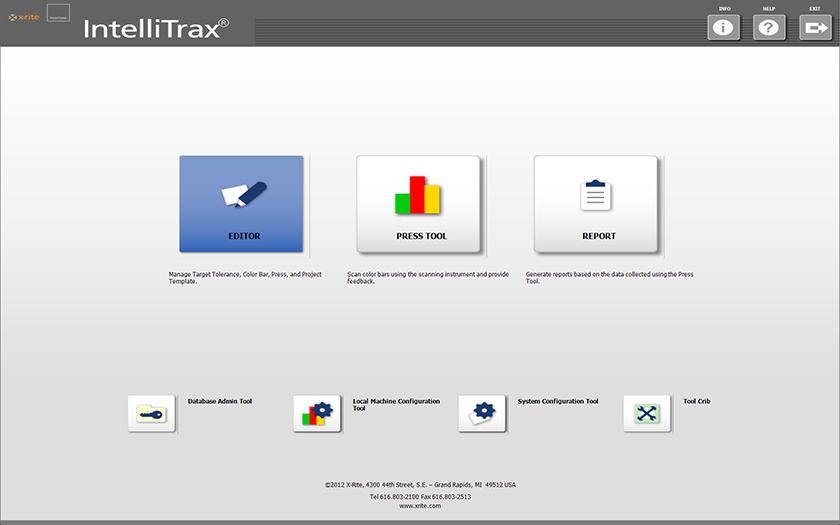
1. Launch X-Rite® IntelliTrax® software, and click on Editor.
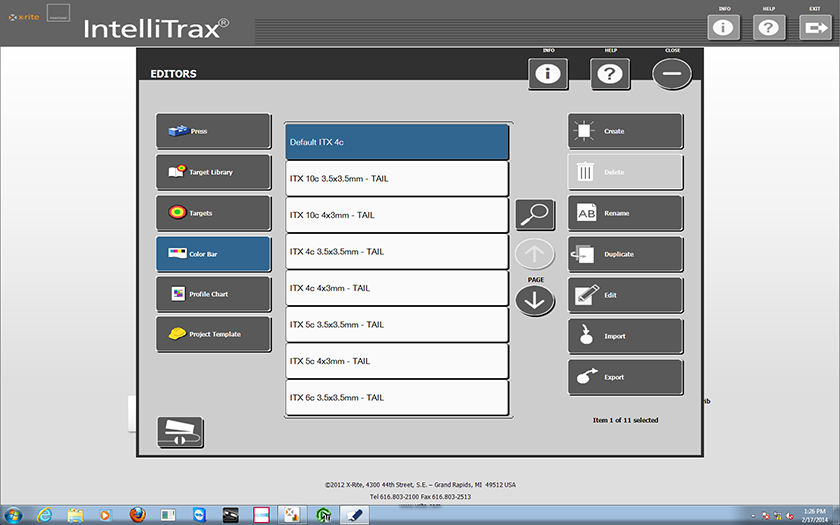
2. Click on Color Bar

3. Click on Import
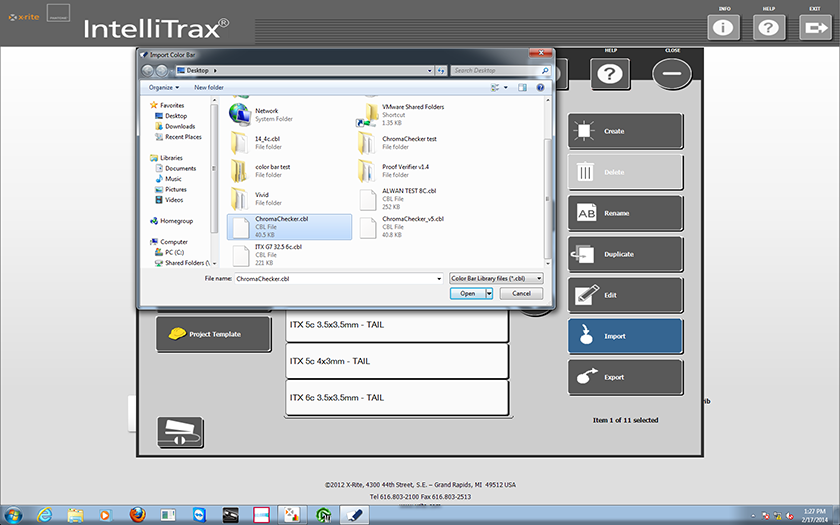
4. Navigate to the location where the ChromaChecker.cbl resides, select it and click on Open.
This will import the ChromaChecker file used when measuring.
5. Next, click on Project Template.
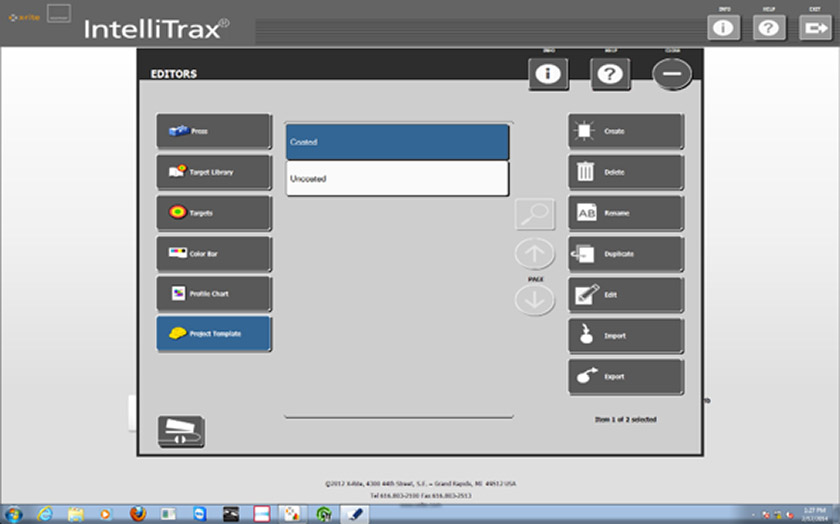
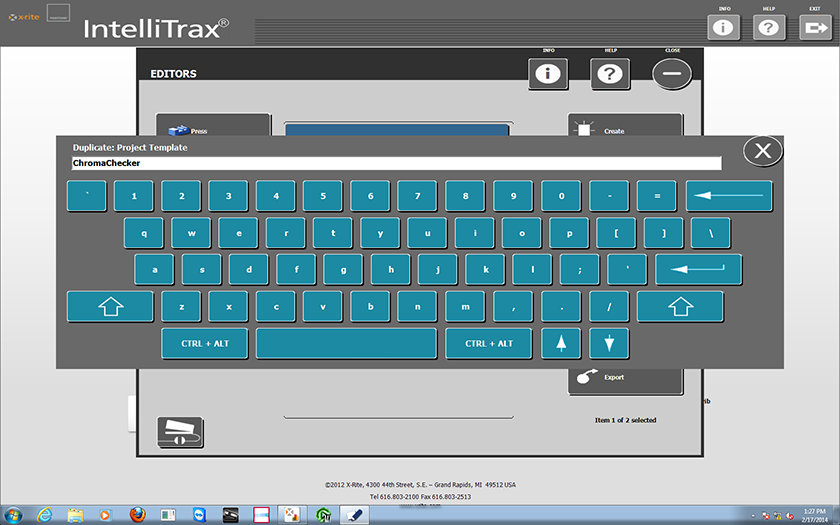
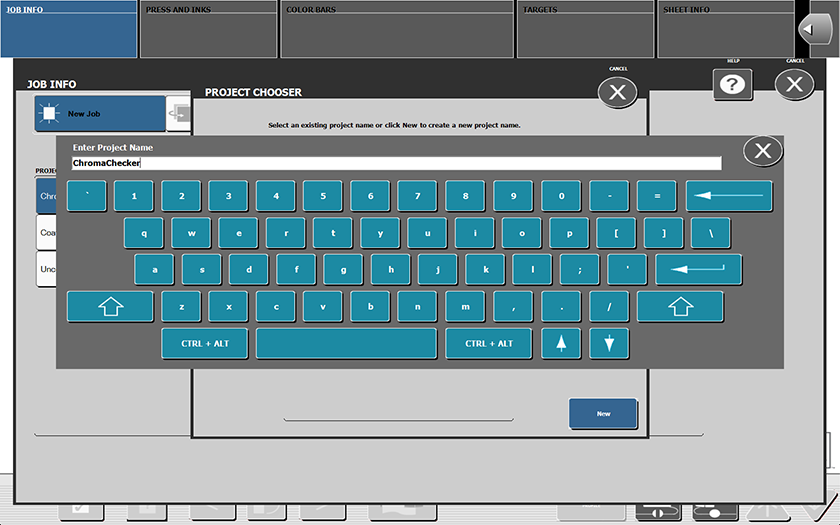
6. Duplicate one of your more common Project Templates that you use in production and name it
ChromaChecker and hit Enter.
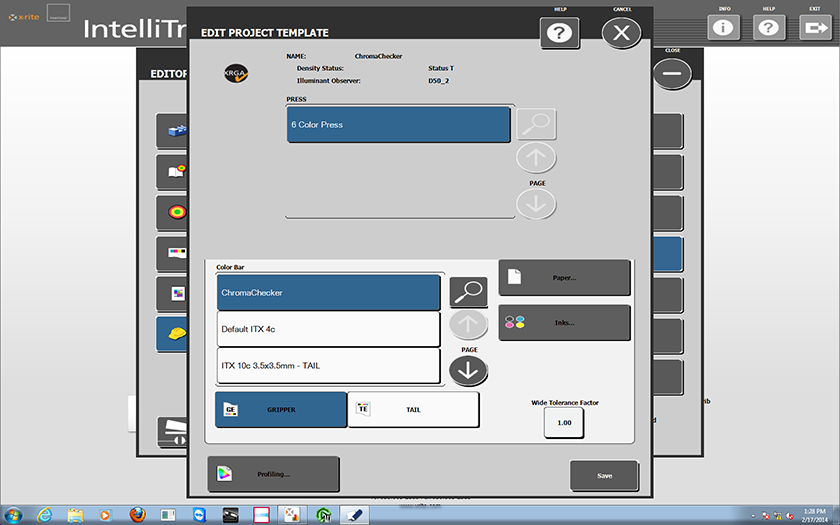
7. When the new ChromaChecker Project Template opens, select the ChromaChecker color bar
from the library and then Save
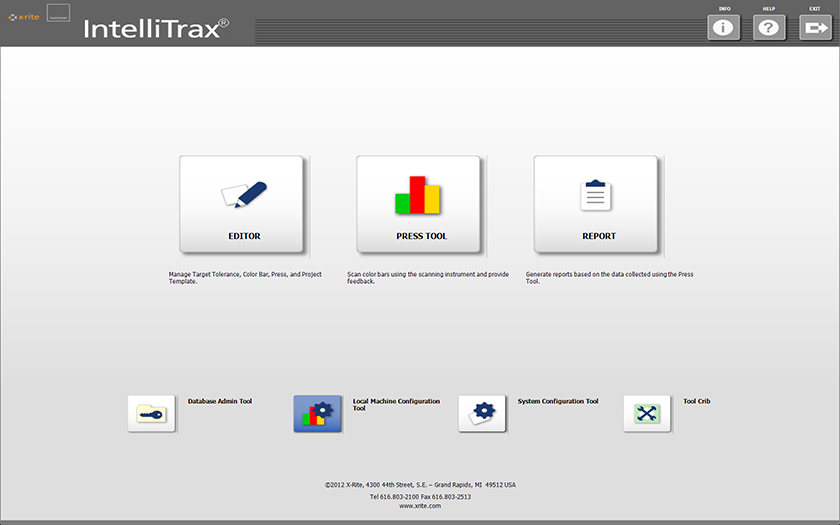
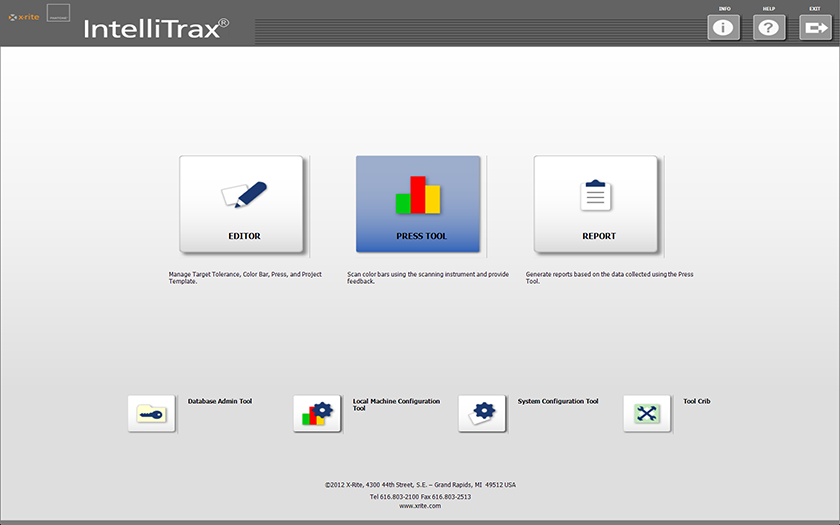
8. Next, close out of Editor which will take you back to the main window of IntelliTrax®.
Next, click on the Local Machine Configuration Tool.
9. Then, click on the Post Scan tab and check on Create Scan Value File (SVF). If this check box is already
selected, another application may be set up to automatically grab this file when created.
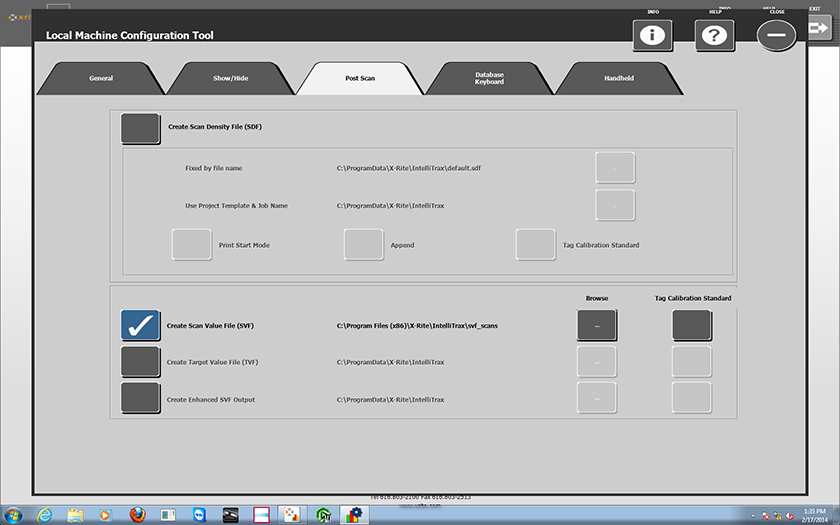
10. Next, click on the browse button and create a folder in the IntelliTrax® folder similar to the directory
location and name listed in the example screenshot. (you can always create a shortcut on your desktop
to this folder for quick and easy access)
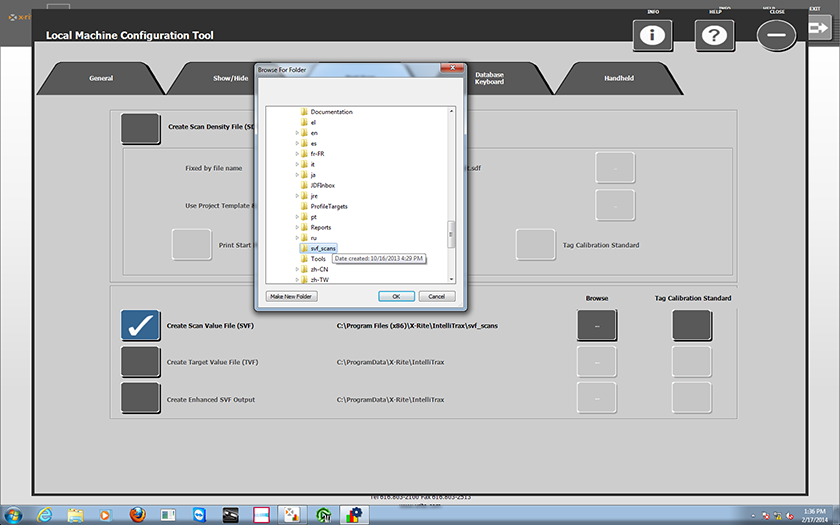
11. Finally, click on close to exit Local Machine Configuration and this will return you to the main window.
12. To scan the ChromaChecker card, you need to set up the ChromaChecker as a normal production press
run in the Press Tool of the IntelliTrax software. Click on Press Tool.
13. Select the new Project Template you created called: ChromaChecker.
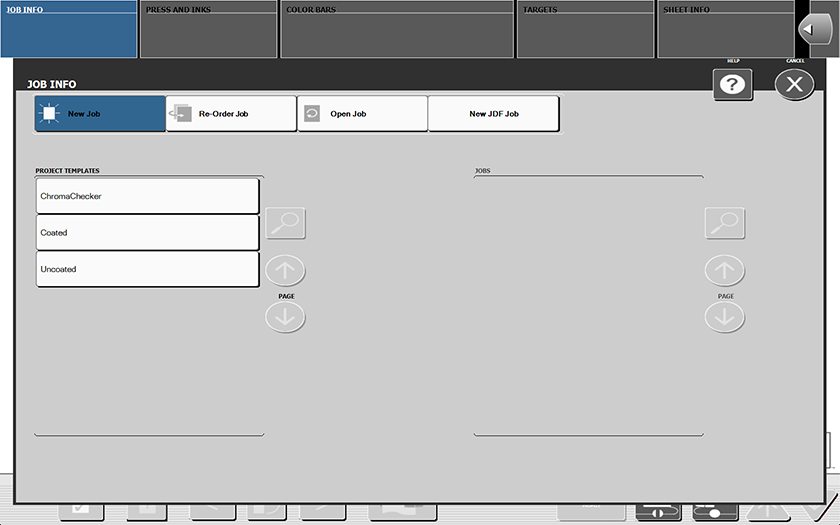
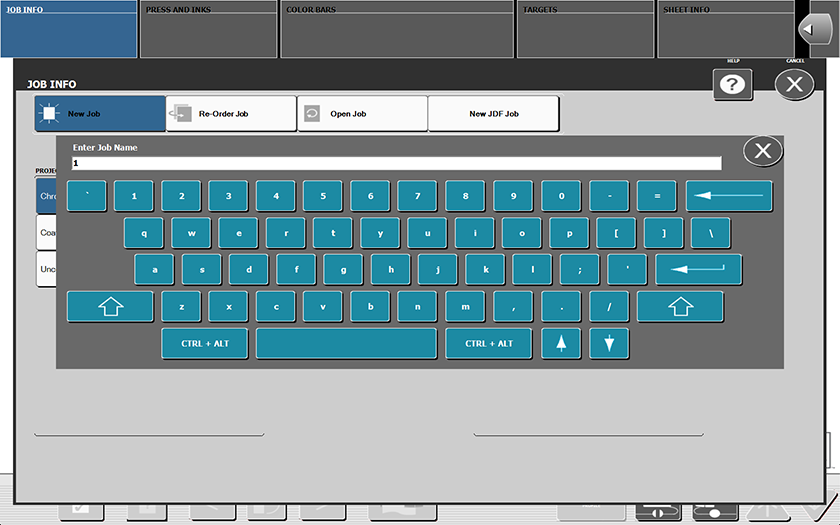
14. Create a Project Name called ChromaChecker and hit Enter.
Routine measurements procedure (manual upload):
1. Create a Job Name like today’s date and hit Enter.
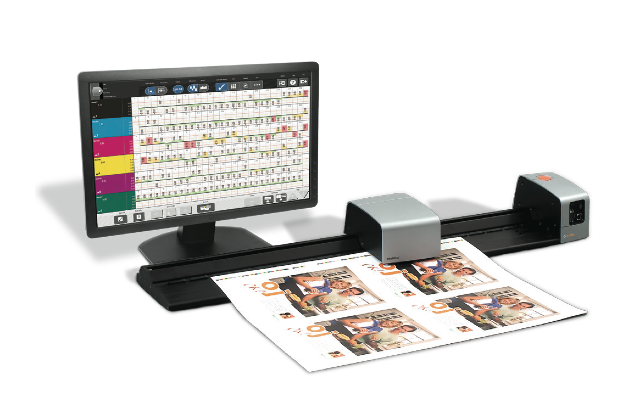
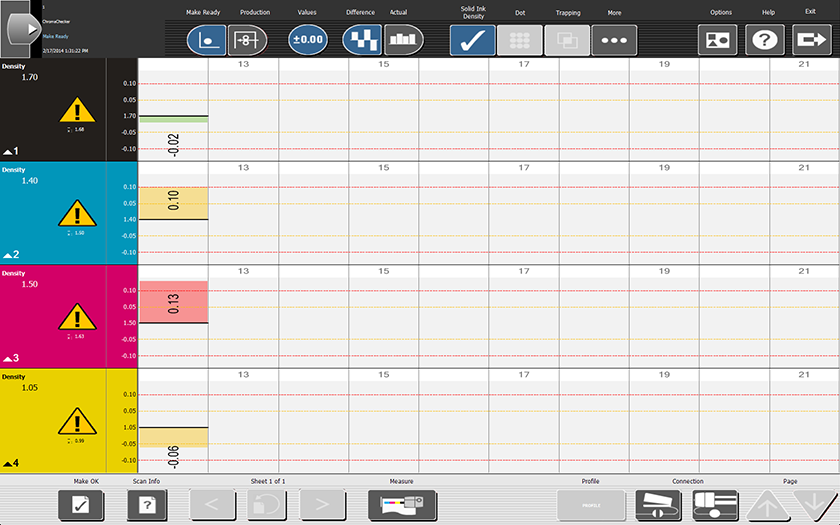
2. Place the Control Strip on the IntelliTrax® scanner near the scan head and initiate a measurement by pressing the orange button on the scanner or the Measure button on the display.
3. The measurement will display on the screen.
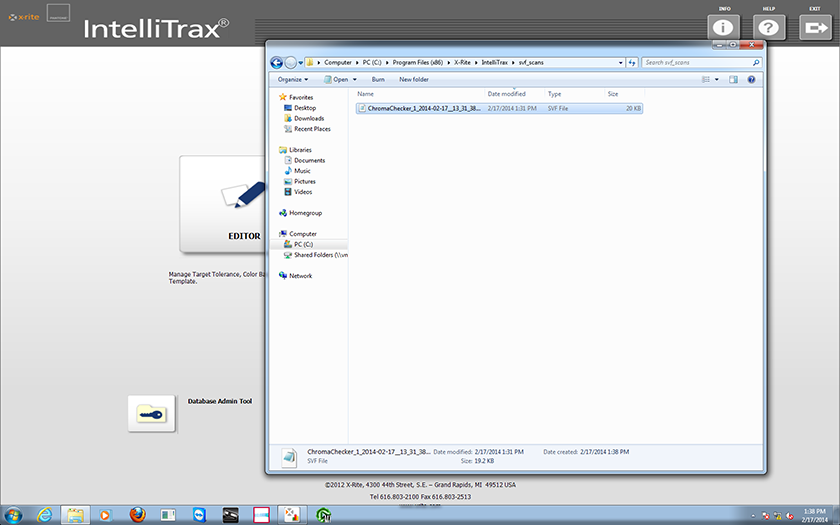
4. If CC Uploader is configured for the directory where the exported .svf is stored, it will automatically load into ChromaChecker Print Inspector. Otherwise, you can always manually upload a file for analysis and to confirm the path where the .svf is stored.
Video
-
This tutorial demonstrates how to configure ChromaChecker Uploader to use ChromaChecker Print Inspector for analysis
Contact ChromaChecker Support
Additional information and Support Form is available for logged users.