April 29, 2022
QuickStart with existing measurement data
You need to have ChromaChecker Account with a valid Print Inspector License or ask for a trial version.
- Launch Print Inspector Vizard - that tool will create Printing devices with default track settings. Set the proper type of Printer. That will better adopt defaults.
 In this example, it is Digital Press
 - Select Press and open tracks:
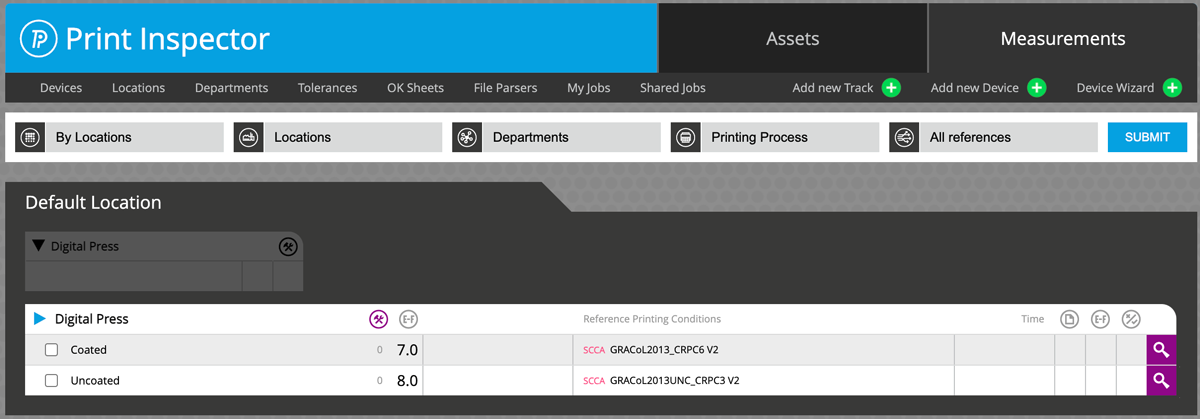
For Digital Press Two tracks have been created - one for Coated (based on GRACoL2013_CRPC6) and Uncoated (CRPC3). Two different substrates have different aims and tolerances and data are collected independently. - Depending on the data that you already have, select a proper track. If existing settings are different from expectations the user may modify them or add an additional track (duplicate existing or start creation wizard).
 Click on the magnifying glass to open the track.
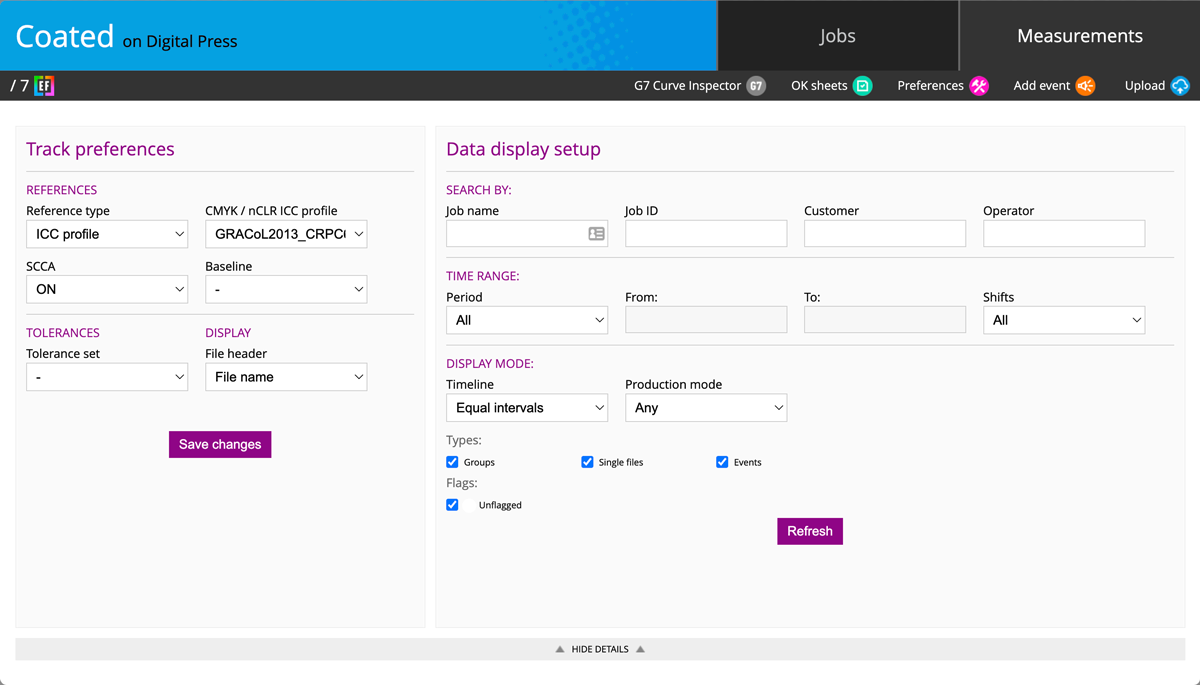
- Click on
 Icon or just drag-and-drop measurement data on it. If your data format is supported a list of measurements will be displayed with a corresponding timeline and easy-mode reports in the table below. Done!
Easy-mode reports bring very basic information only, but the user may switch the view to go slightly deeper. By clicking on magnifying glass an Export Report Summary starts a detailed data analysis. The user may select any tab to see more details.
Don't have your own data yet? No problem!
If you need sample measurement data - download demo files:
- G7 Qualification for Offset Press
- Vi-816 Variation analysis for Digital Printer
- Ink-zone data from Heidelberg Image Control (Offset Press)
- Variation (uniformity) test for Large Format Printer
Contact ChromaChecker Support
Additional information and Support Form is available for logged users.