CC Products »
CC Capture »
Supported Instruments »
X-Rite i1 iSis »
iSis barcodes »
How to generate iSis barcode chart with i1Profiler
October 25, 2022
How to generate iSis barcode chart with i1Profiler
- Launch i1 Profiler
- Got to CMYK printer Profiling (or RGB if color space is RGB)
- Drag-and-Drop a patch list (exported from ChromaChecker or any other software) on PatchSet icon

- Go to Test chart icon and select required parameters. It is critical to check "Enable barcode" in Device setup. Adopt "Page setup" and "Patch layout" according to own preferences:
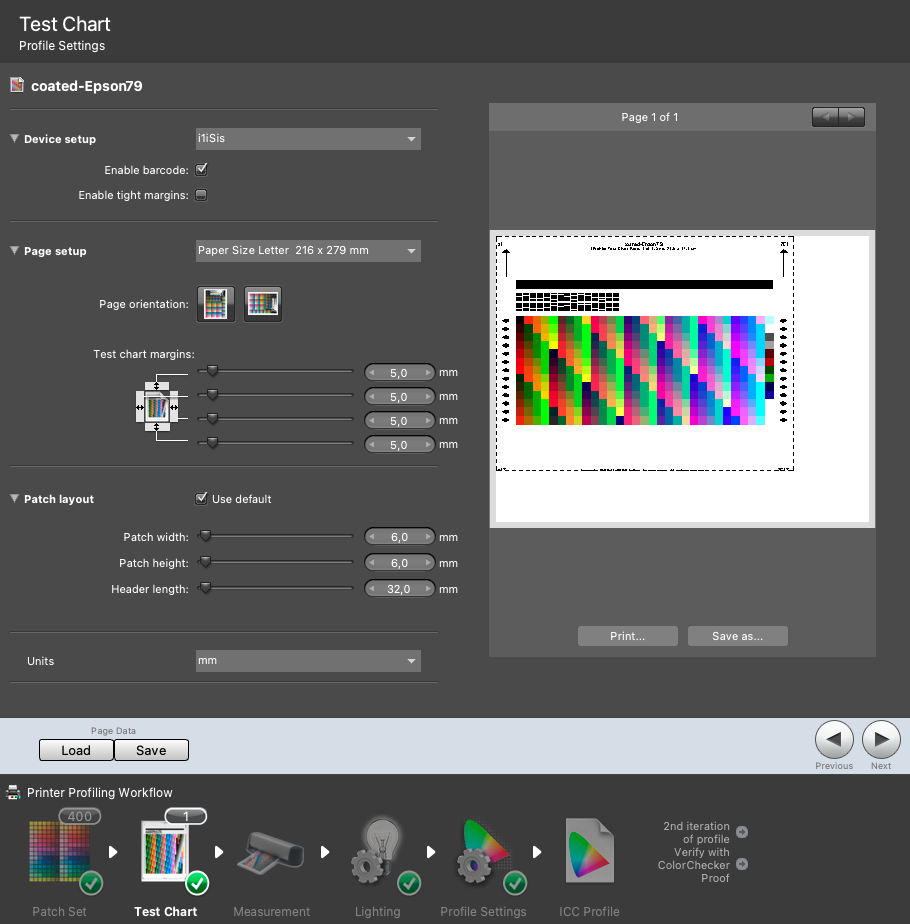
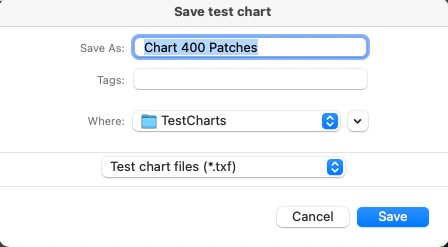
- Save It! use unique name for first printer/track combination
IMPORTANT NOTE:
don't use special characters! we recommend not using "space"
keep name short!
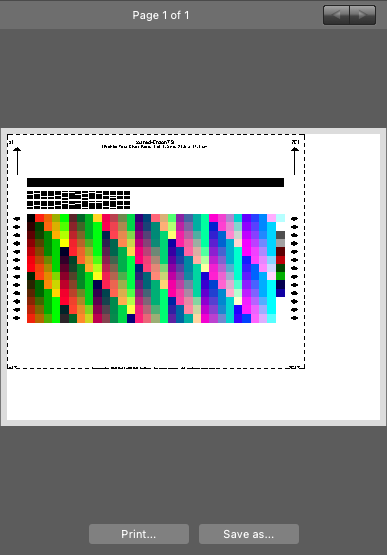
- Get chart image ("Save as..." button below the image.
- DONE!
Repeat last two steps if you need printer/substrate variants
At this moment you may hit "Save" button (Page data section) to create more version with different names for other printer/substrate combinations. Whenever a new name is applied don't forget to download corresponding image ( Save as... button).
Important Note:
Xrite i1profiler is adding page numbers to the barcode - that why it might not match exactly saved name. The best approach is to use CC Capture to read barcode content after printing.
Verify if all is correct before final implementation in production chain.
Contact ChromaChecker Support
Additional information and Support Form is available for logged users.