Understanding Calibration Process
The Display renders pictures using RGB channels. In raw state the display has native settings:
- Max Brightness expressed in cd/m2 (nits)
- Native White Point
- Native Black Point
- Native Tonal Response
All above parameters are the result of engineer decisions and are corresponding to the market the display is targeted to accommodating technical/economical limitations.
Calibration
Calibration is a process that changes native parameters to expected parameters defined by the user. The principles of calibration are:
- Calibration software can only reduce native parameters like a brightness - not increase them!
- Strong correction values may produce unexpected issues - as typically 8 or 10 bit addressing might produce visible steps (banding). Try to optimize parameters based on your displays capabilities.
Components of calibration
- Monitor Brightness - this value has to correspond to lighting conditions used to illuminate real objects that we are comparing to pictures rendered on the screen. A typical example is the Lighting Booth where lighting conditions are extremely controlled.
- White Point - this also has to correspond to Lighting conditions, however, due to observer metamerism and other issues (Standard Observer definition) it might require personal corrections (hi- demanding workflow only)
- Tonal Response - this is related to the application that Display is dedicated to.
To learn more about recommended values for Calibration please consult Profiling vs. Calibration.
Types of Calibration
We have software or hardware calibration (required compatible display). The main difference is that required parameters are uploaded to the processor built into the Display and make this process controlled by a dedicated system.
IMPORTANT NOTES
- All calibration components have to be defined in a similar way in a step-by-step procedure but in the case of software calibration, the only way is to create a helper ICC profile that is not used for profiling purposes but creates Look-Up-Tables (LUTs).
- Helper ICC profile can control only calibration components and not take care of how all in-gamut colors are displayed.
- When workflow combines calibration and profiling — final ICC profiles also combine both function calibration and profiling.
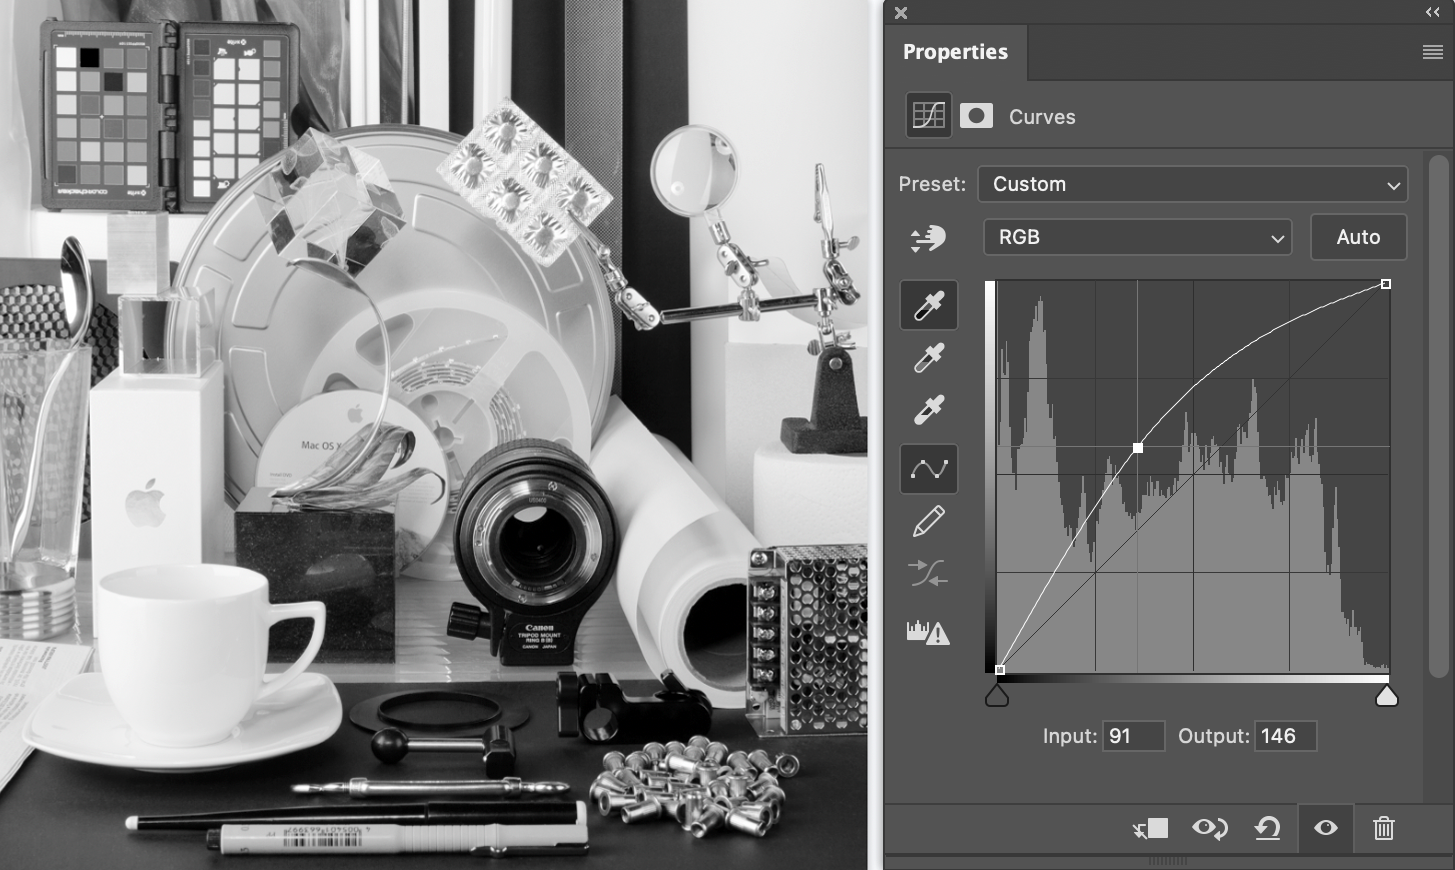
Understanding LUTs
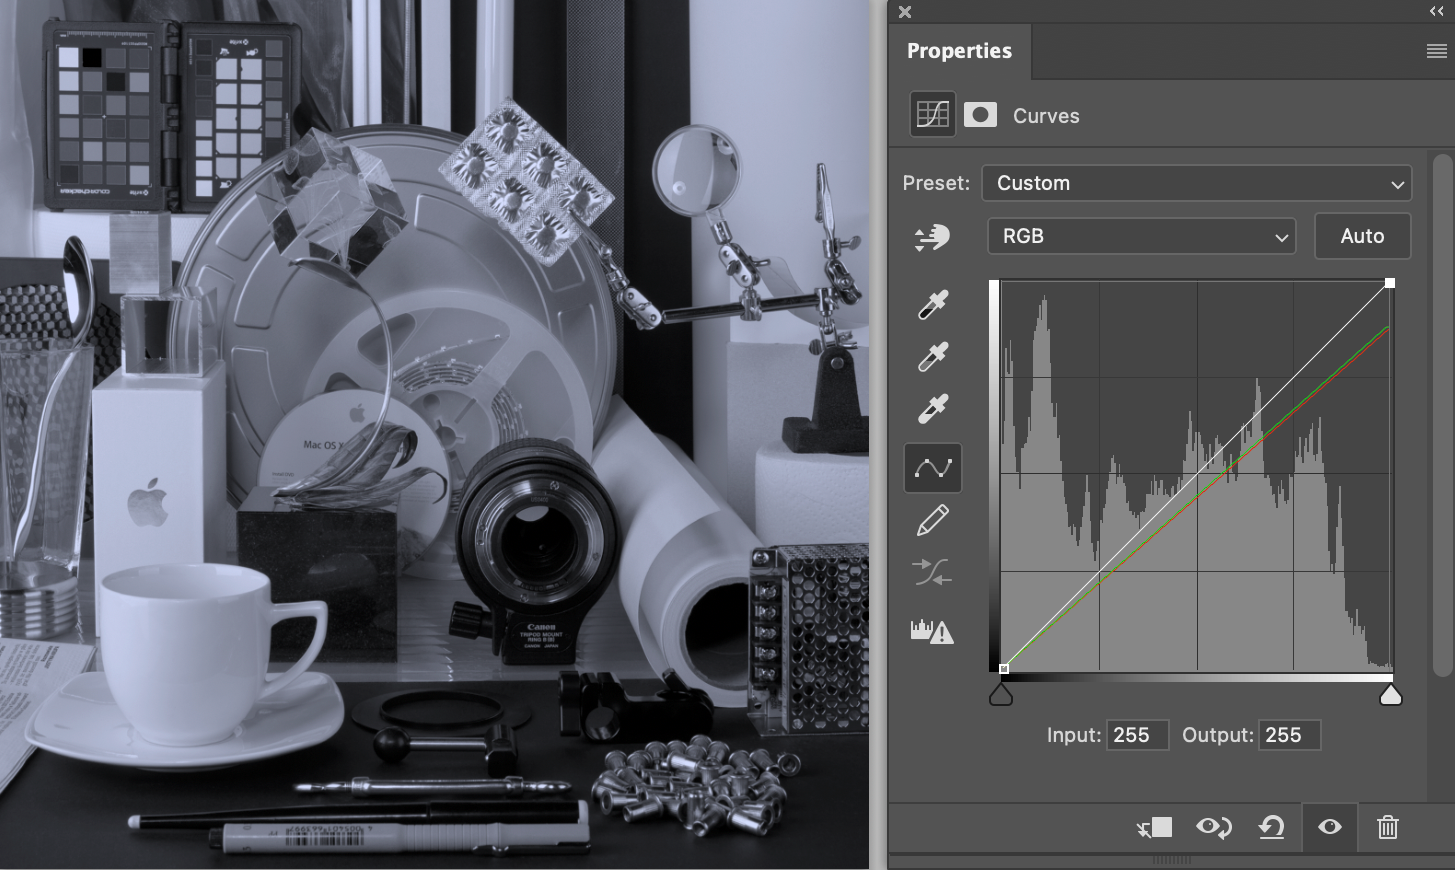
To understand how the Look-Up-Tables are working we can use "Curves" in Adobe Photoshop or any other graphic software. Let's take a BW picture to see how it works.
Original picture - it is how it is displayed using Native Display Parameters

input value = output value, which means that nothing is changing.
Whithe point is created as 100%R + 100% G + 100%B
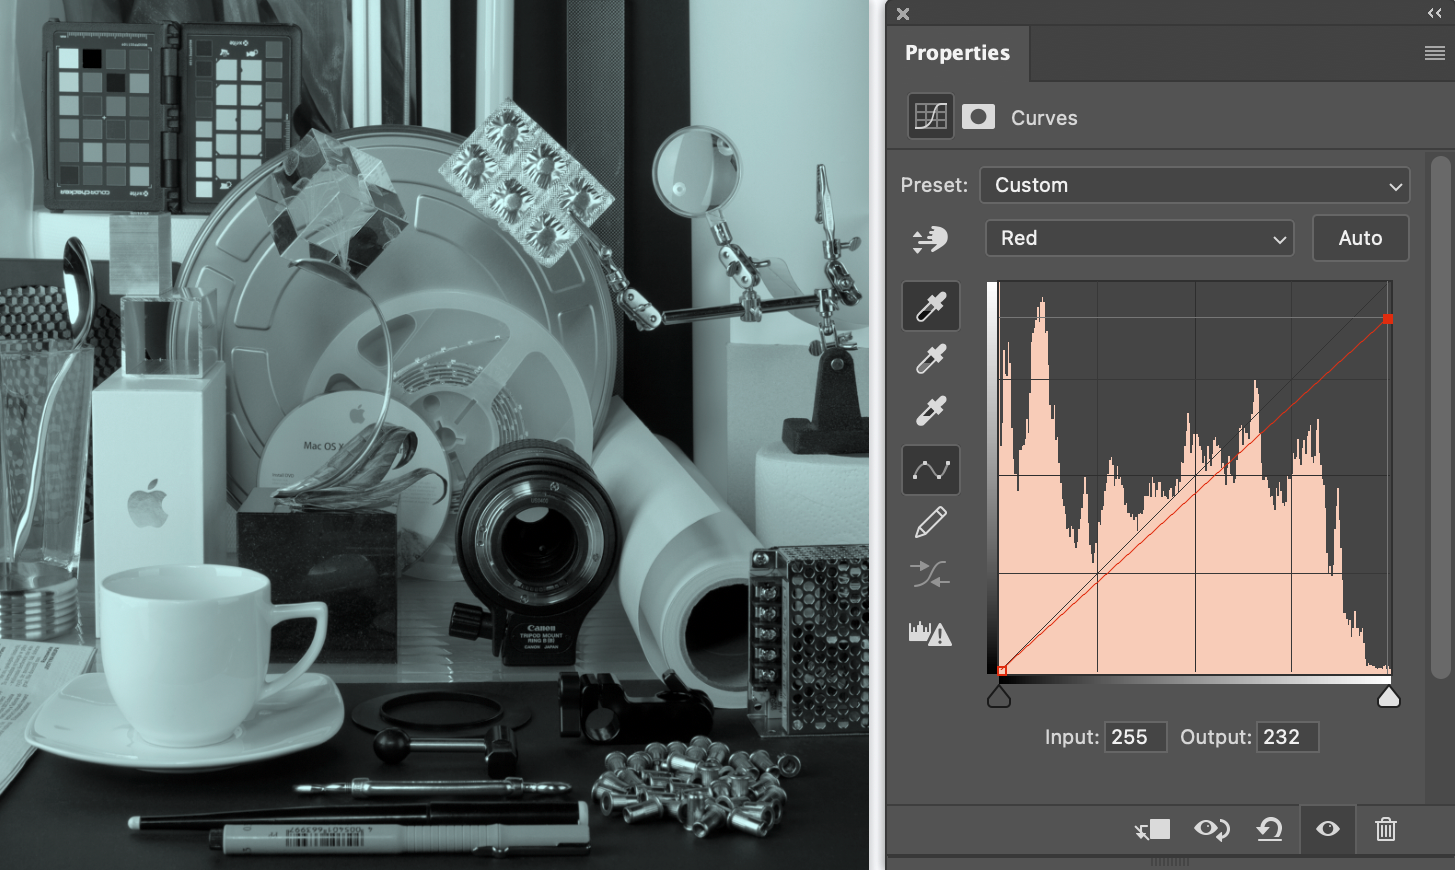
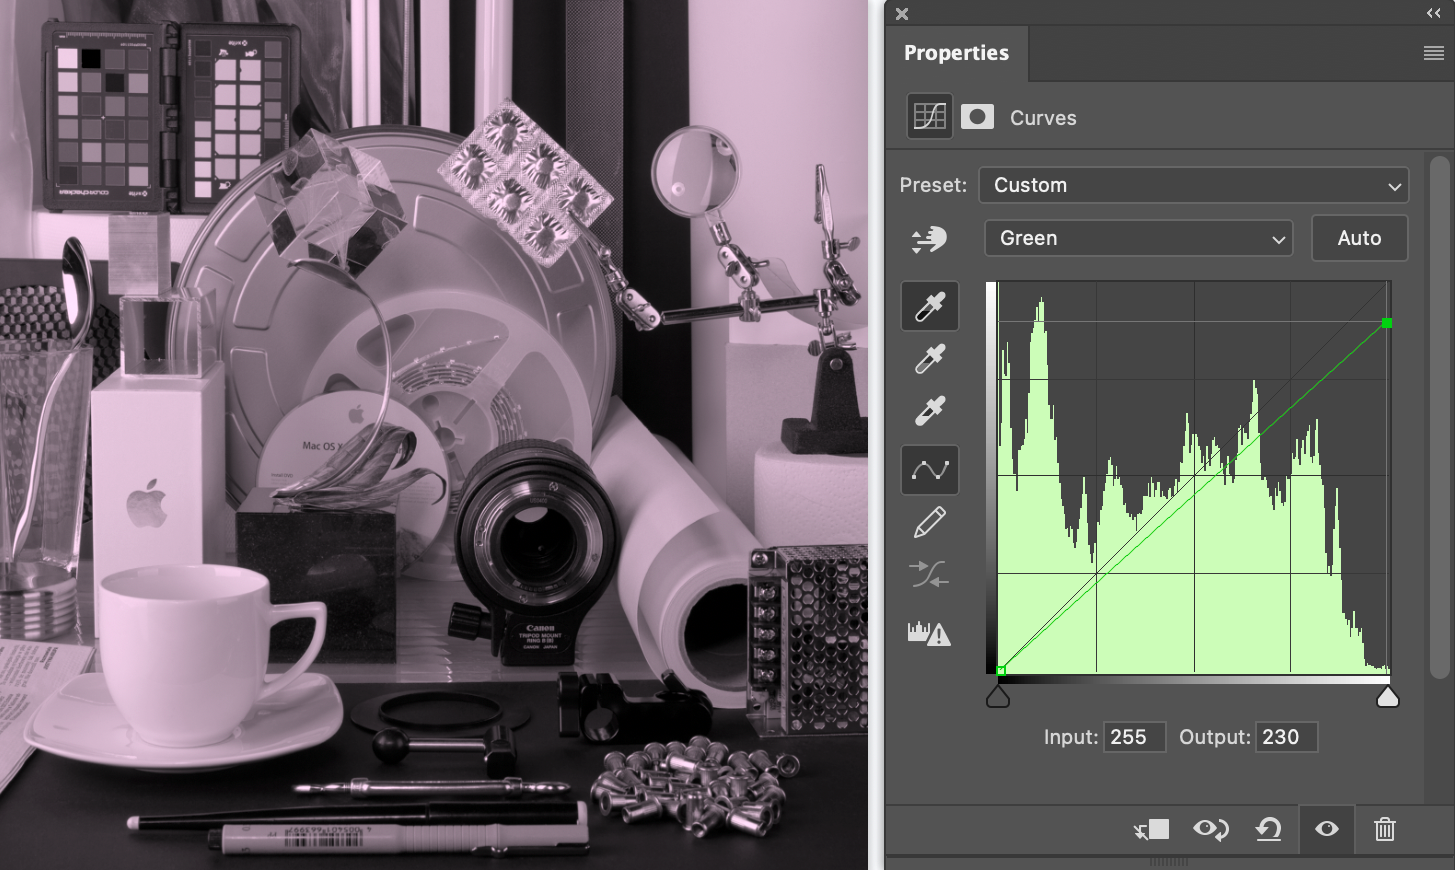
Reducing the max value of R, G, B channels separately
If we want to change White we can reduce one channel:
 |
 |
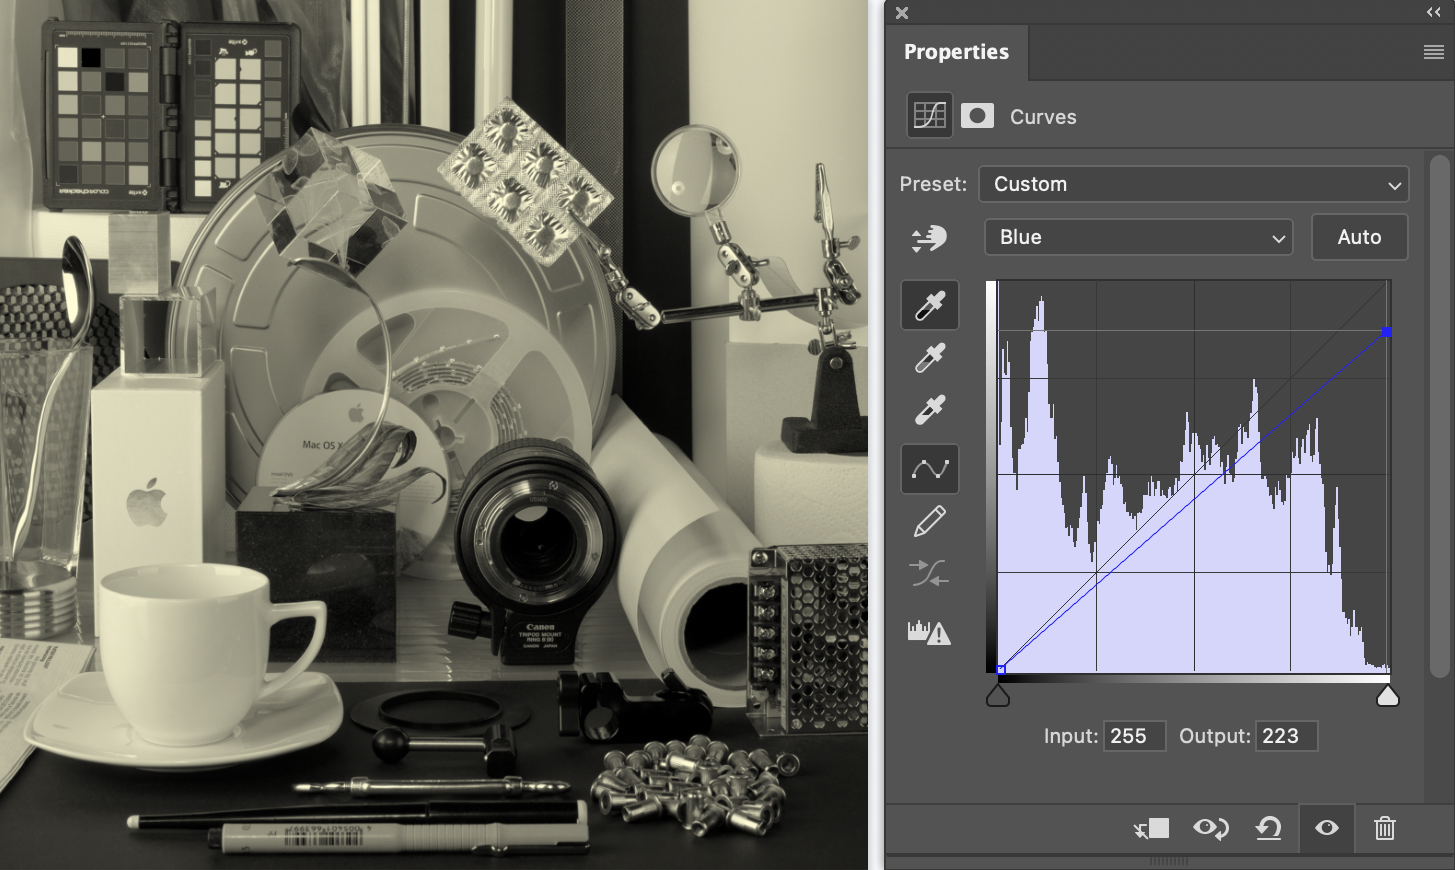 |
| reducing red → cyan dominates | reducing green → magenta dominates | reducing blue → yellow dominates |
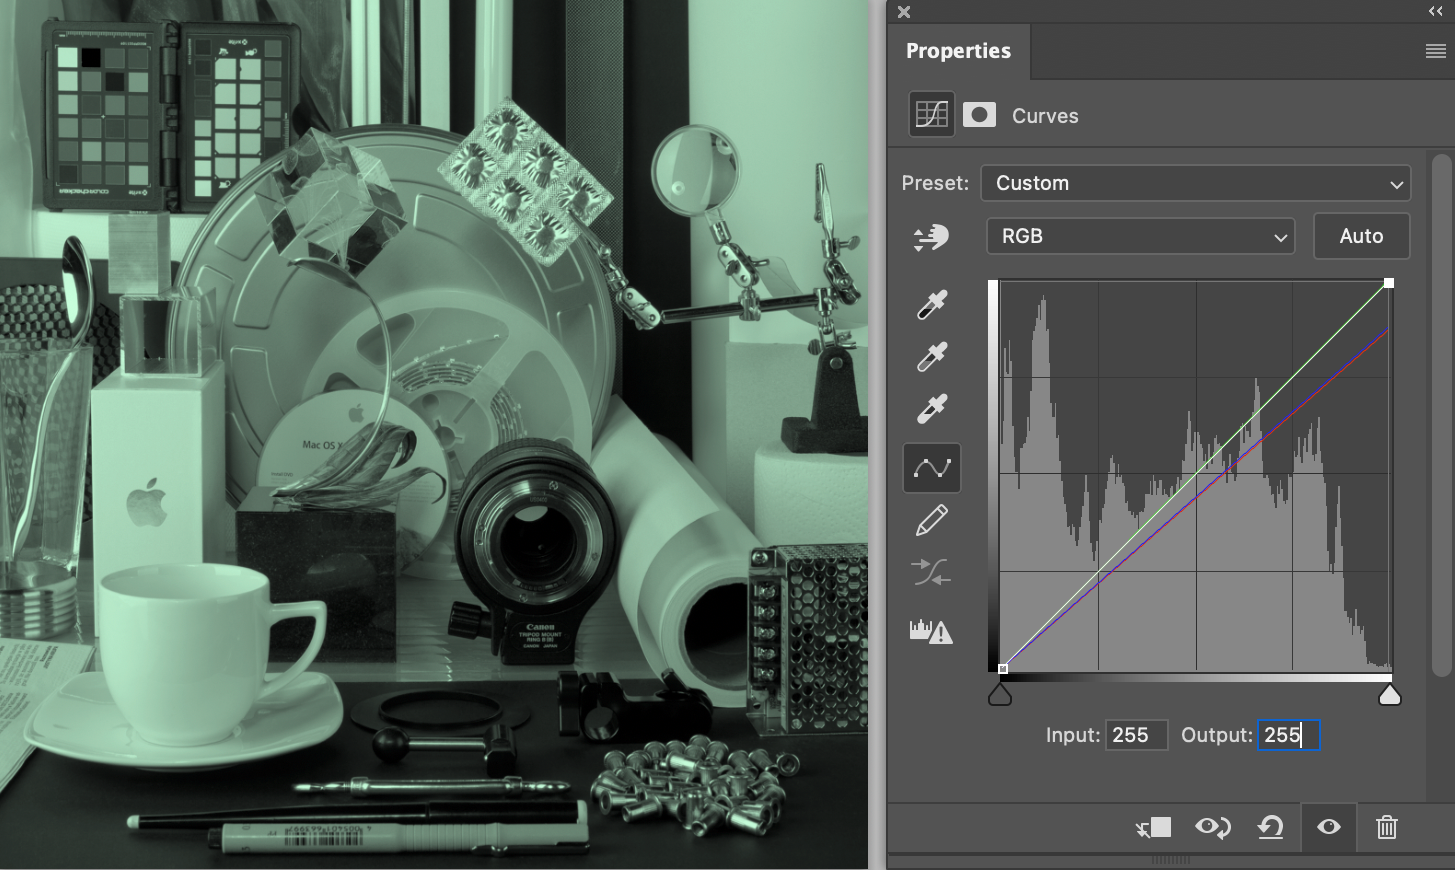
or more channels:
 |
 |
 |
| reducing G and B → increases R | reducing R and B → increases G | reducing R and G → increases B |
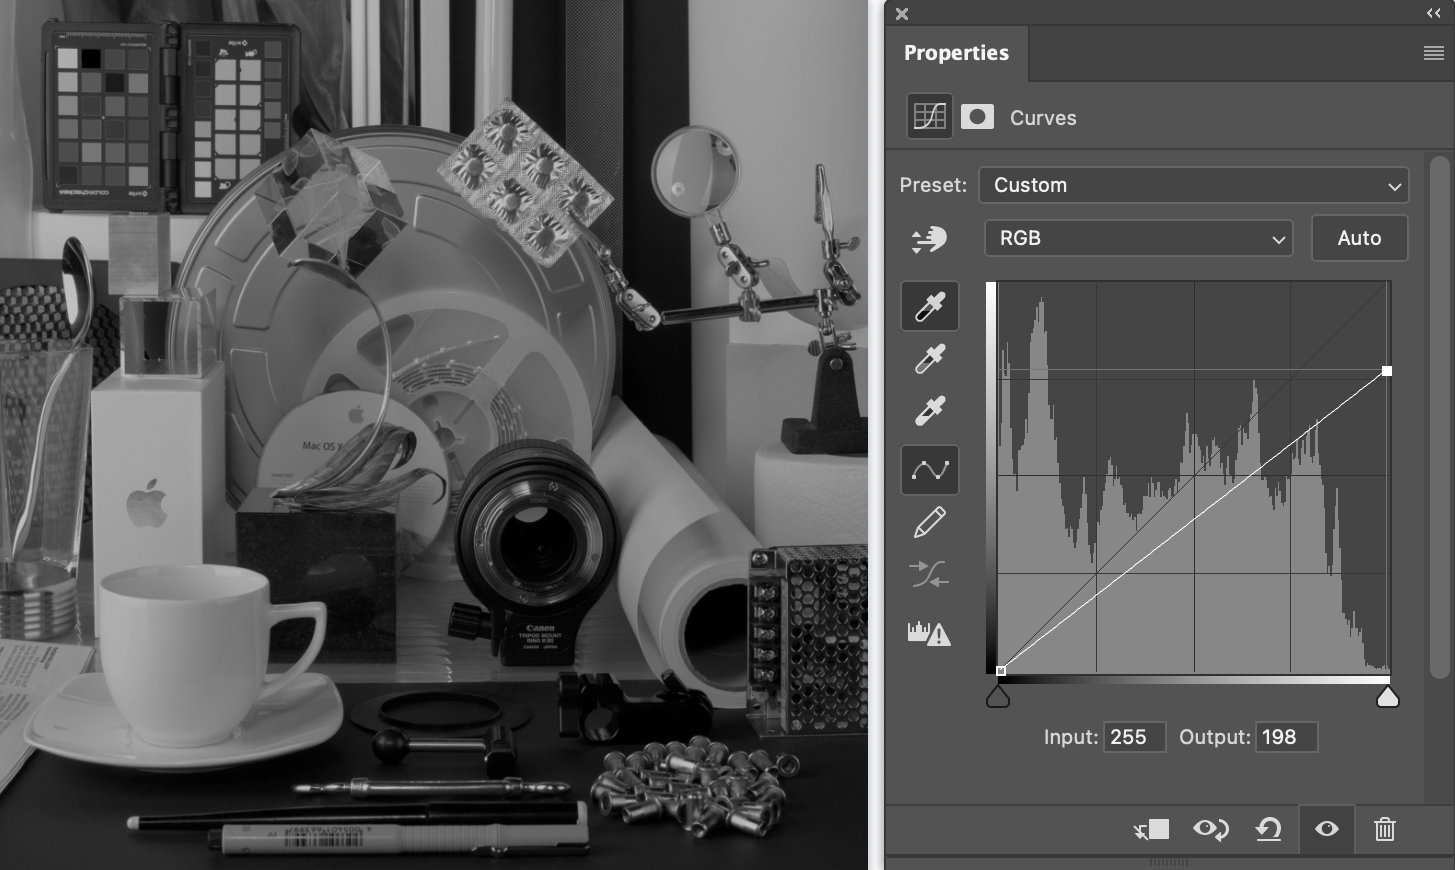
Simultaneous RGB reduction - reduces max brightness
|
 |
 |
| native brightness | reduction to 77% | reduction to 47% |
In this example, such reduction seems to be strange but if we imagine that our Display is 300 cd/m2 but we want to have 140cd/m2 - 47% is what will do that.
IMPORTANT NOTES
- We should not use LUTs to reduce our monitor brightness too much! 47% is NOT practical. We have a Brightness knob that we can use to reduce to the value that fits all our needs. It is also very important to understand if we will need correct White Point - what almost often takes place - new corrected White needs more brightness as we are losing it by reducing channels.
- If you select automatic calibration mode you need to take care if brightness is not limited too much by the knob.
- In some systems on the keyboard, there are keys that enable changing brightness, or it is adjusted automatically. All such functions MUST be turned OFF. Read how to make it on iMac or other Apple computers here.
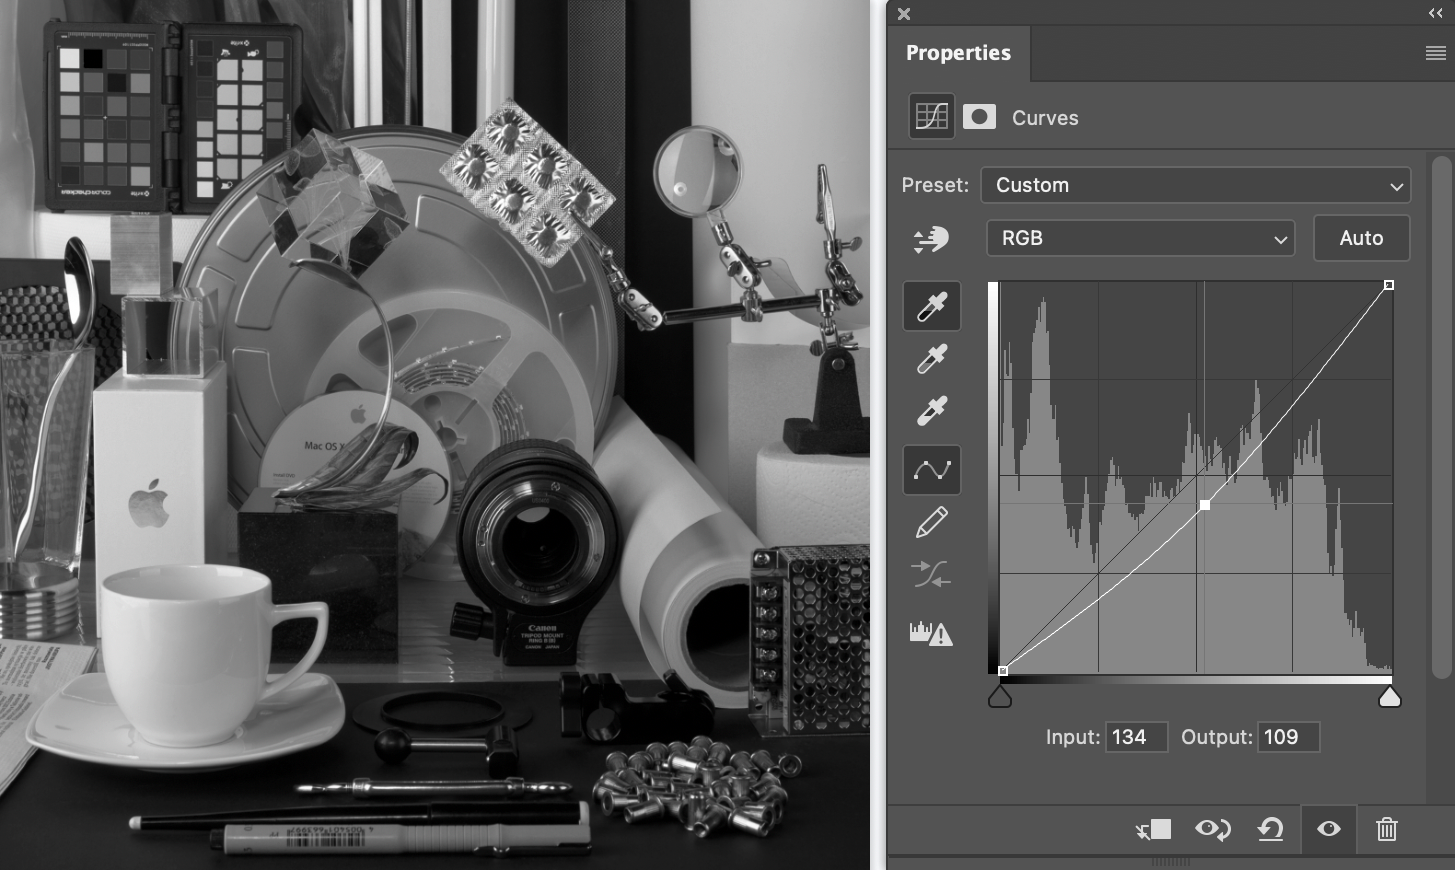
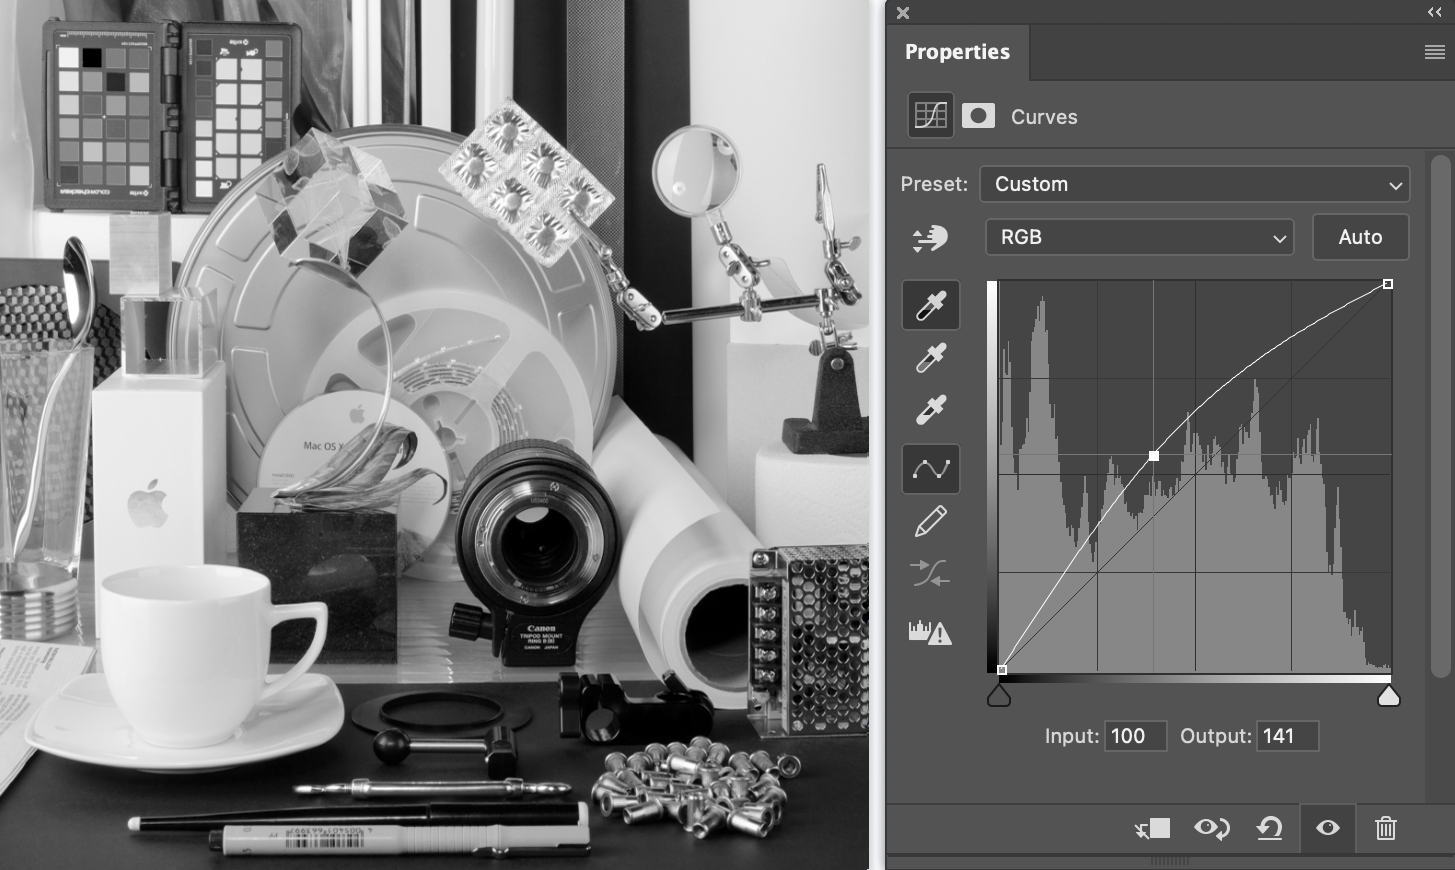
Tonal Response
When max brightness and White Point are set the next step is the Tonal Response. It is a curve that defines how halftones are displayed. The basic old-school approach is to edit gamma can be explained in the following examples.
|
||
| original picture with no correction | ||
 |
 |
|
| smaller | ||
 |
 |
|
There is a couple of solution on the market where simple gamma is replaced by the predefined curve. The CC Display default is set to L*, which is a sample of tonal response created based on a specific curve. Learn more about it here. Recommended settings for tonal response are in Profiling vs. Calibration.
Creating Calibration Parameters for the Workflow
In The Workflow, a Calibration Tab is dedicated for that purpose. The user may want to create their own. Go here to learn more.
Contact ChromaChecker Support
Additional information and Support Form is available for logged users.